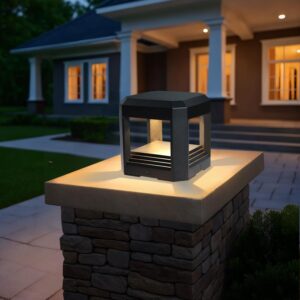
How to Install a 5.94″ PLUSLED Hard-Wired LED Pillar Post Light on Your Deck or Driveway Column: A Post-July 4th Summer 2026 DIY Walkthrough
The Fourth of July 2026 fireworks have faded, the backyard cookout is cleaned up, and if you were paying attention during your holiday party, you probably noticed one thing: the guests kept congregating around whichever corner of your yard actually had good lighting. That’s the American backyard tale of summer 2026 — homeowners across the country are pouring the rest of their summer weekends into fixing the dark, unfinished corners of their decks, fences, and driveway columns before Labor Day arrives. The single fastest upgrade that keeps showing up in home-improvement forums, Reddit r/DIY threads, and neighborhood swap groups this July? Installing a compact, hard-wired LED pillar post light on the top of an existing wood post or masonry column.
This step-by-step guide walks you through installing the 5.94″ PLUSLED 13W 3000K Hard-Wired LED Pillar Post Light — an ETL-listed 120V fixture designed specifically for American deck posts, fence caps, garden pillars, driveway columns, and patio pergolas. If you have a free Saturday afternoon between now and Labor Day, a basic wire nut, and moderate DIY comfort, you can finish this project before the sun goes down and light up your yard the same evening. Let’s get into it.
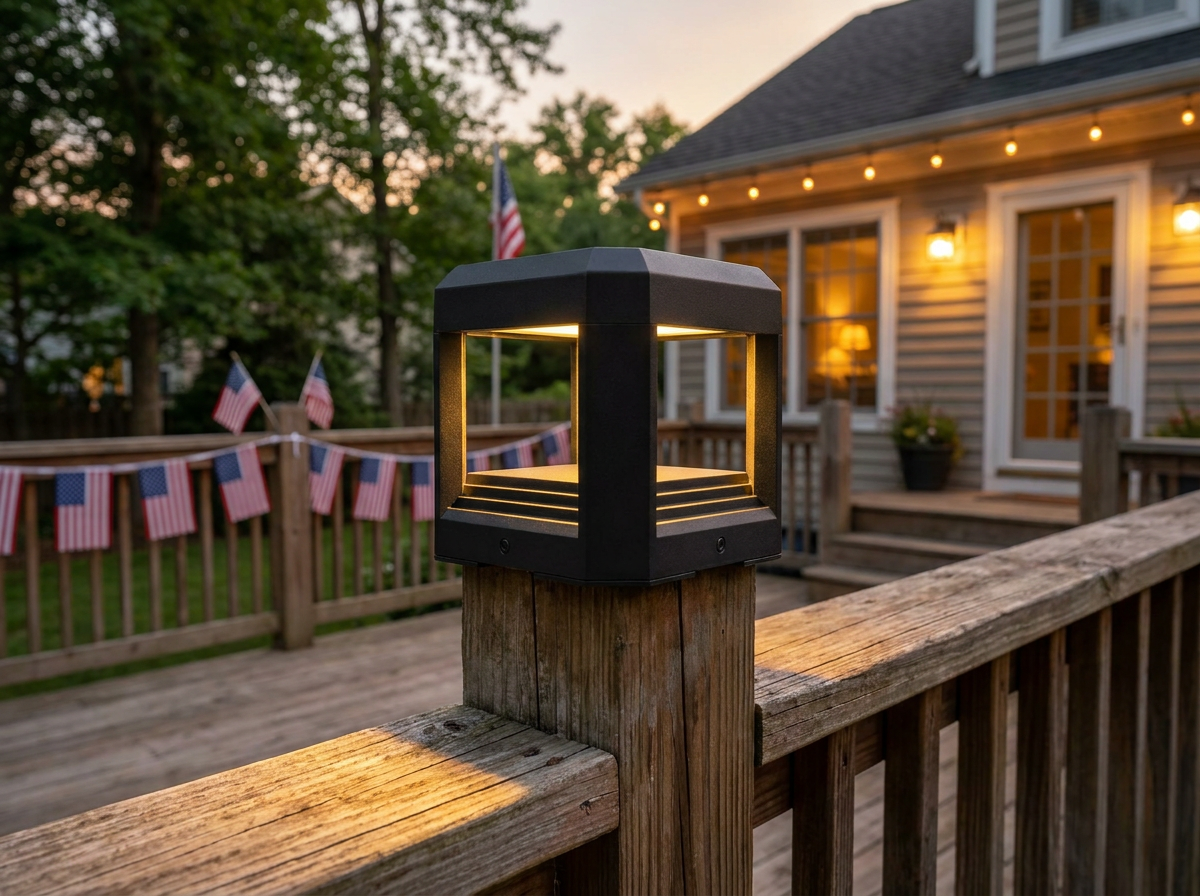
Why This Fixture Fits the Post-July 4th American Backyard Trend
Before we grab tools, it helps to understand why this specific fixture matters for summer 2026. Solar post caps had their moment, but American homeowners are increasingly frustrated with dim outputs and dead batteries by year two. Hard-wired 120V pillar lights — especially compact 5.94″ fixtures — solve that pain point permanently. You get consistent 13W LED output at 3000K warm-white color temperature (the exact shade that makes cedar decking and stone masonry look their best at dusk), ETL certification for wet-location safety, and a lifespan measured in decades, not seasons.
The 5.94-inch footprint is deliberately sized to sit cleanly on standard 4×4 wood posts, 6×6 fence columns, and small masonry piers without overhanging or looking undersized. That’s why it’s turning into the go-to fixture for driveway entry columns and garden pillar clusters this summer.
Tools and Materials You’ll Need
- PLUSLED 5.94″ 13W 3000K Hard-Wired LED Pillar Post Light
- 14/2 or 12/2 UF-B outdoor-rated cable (length depends on run to your junction)
- Cordless drill with 1″ spade bit
- Wire strippers and lineman’s pliers
- Waterproof wire nuts (blue or gray silicone-filled)
- Silicone caulk (outdoor grade, clear)
- Non-contact voltage tester (safety non-negotiable)
- Level, tape measure, pencil
- Weatherproof junction box if you’re tapping a new circuit
Step 1: Kill the Power and Verify with a Tester
Head to your breaker panel and turn off the circuit feeding your outdoor outlet or existing landscape lighting. Bring a non-contact voltage tester out to the work area and confirm zero voltage on every wire you plan to touch. This step takes 60 seconds and prevents the number-one summer DIY accident: shocks from live 120V lines mistaken for low-voltage landscape wiring. Do not skip it.
Step 2: Plan Your Wire Run
Decide whether your PLUSLED pillar post light will tap into an existing outdoor GFCI outlet, a covered junction box on your deck framing, or a new run from the garage subpanel. For most American deck installs, running UF-B cable up through the hollow of a 4×4 post or along the underside of the deck framing is the cleanest route. Measure twice, add 12 inches of slack at both ends, and cut your cable.
Step 3: Drill the Post and Feed the Cable
Use your 1″ spade bit to drill straight down through the center of the post cap where the pillar light will sit. Then drill an exit hole near the base of the post (or at the deck frame junction) so you can pull the UF-B cable through. Feed the cable from bottom to top, leaving 6–8 inches of slack at the top for wire connections inside the fixture base.
Step 4: Mount the Base Plate
The PLUSLED 5.94″ pillar light ships with a pre-drilled base plate and stainless mounting screws. Center the plate on the post, mark your pilot holes, drill 1/8″ pilots, then lay a bead of exterior silicone around the underside of the base plate before you fasten it down. That silicone bead is what keeps summer thunderstorms from driving water into your post cavity — a small step, but the difference between a fixture that lasts 20 years and one that rots the post from the inside.
Step 5: Wire the Fixture
Strip 1/2 inch of insulation from the fixture’s black, white, and green ground leads and the matching conductors in your UF-B feed cable. Connect black to black (hot), white to white (neutral), and bare copper or green to green (ground) using waterproof wire nuts. Twist each connection firmly clockwise, then tug-test every joint. Loose wire nuts on outdoor 120V circuits are how driveway lights fail in the middle of an August storm.
Step 6: Tuck, Seal, and Secure the Top Housing
Gently coil the wired connections inside the base cavity of the PLUSLED pillar post light. Do not force the wires — a smooth coil prevents strain on the connections. Place the top housing of the fixture over the base and tighten the retaining screws by hand. Add a second bead of silicone around the top-housing seam if your climate sees heavy summer humidity or Northeast thunderstorm exposure.
Step 7: Restore Power and Test
Head back to the breaker panel, flip the circuit on, and confirm your pillar light powers up to that clean 3000K warm-white glow. Walk out to the driveway at dusk to check the beam pattern and confirm your neighbors can now actually see the address numbers on your mailbox — a summer 2026 curb-appeal win that pays back the entire project cost the first time a delivery driver, guest, or family member arrives after dark.
Pro Tip: Install Multiples for a Cohesive Look
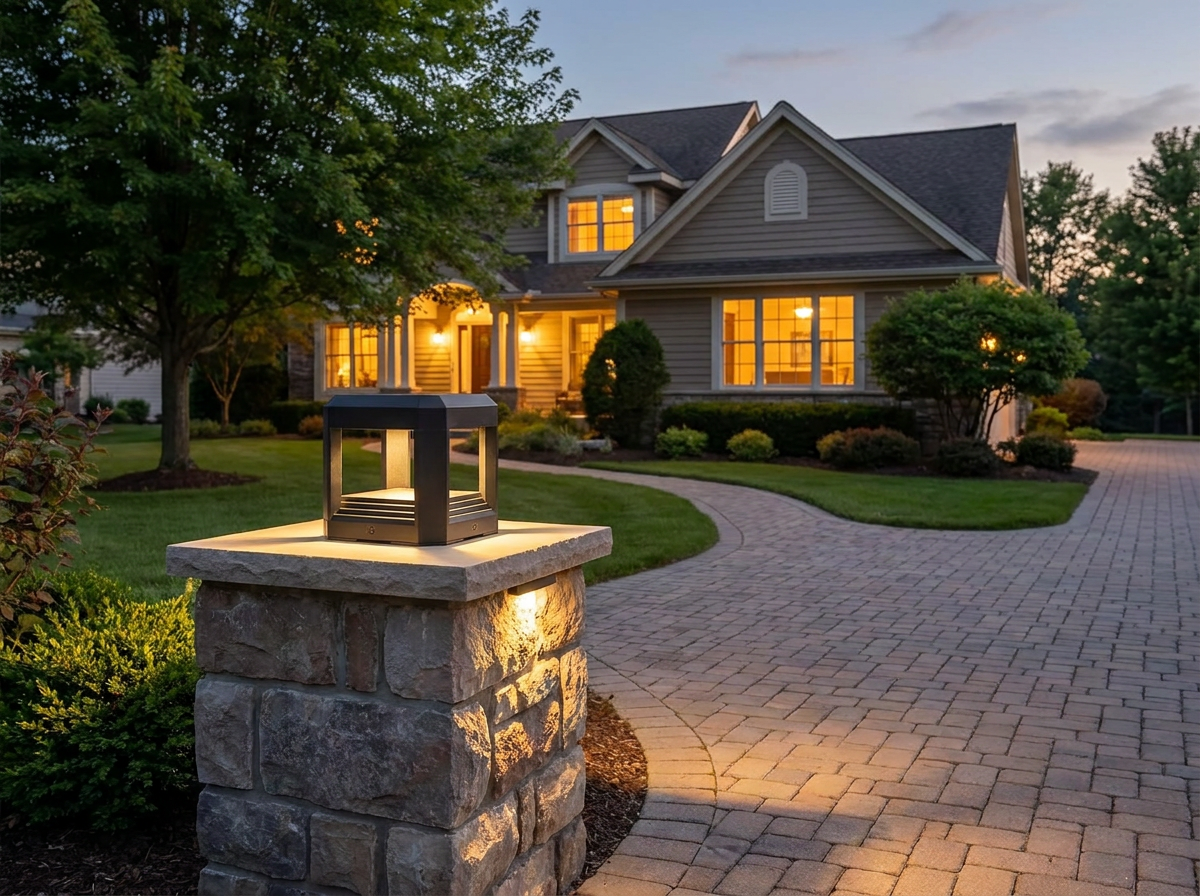
The American backyards getting the most attention on home-improvement social media this summer aren’t installing one pillar light — they’re installing pairs or quads. Two PLUSLED 5.94″ pillar lights flanking a driveway entrance instantly elevates the front elevation of any home. Four fixtures spaced along a deck railing perimeter turn a plain wooden deck into an evening entertaining space that rivals a lakefront resort. Because these are hard-wired and daisy-chainable on a standard 120V circuit, adding more units is straightforward.
Common Installation Mistakes to Avoid
- Skipping the silicone bead under the base plate — leads to water intrusion within a single summer
- Using indoor wire nuts instead of waterproof ones — corrosion within 12 months
- Running standard NM cable outdoors instead of UF-B — not code-compliant and can fail inspection
- Overtightening the top housing screws — cracks the gasket seal
- Wiring without turning off the breaker — the mistake nobody survives twice
Final Thoughts — A Weekend Upgrade That Lasts Decades
Between the Fourth of July and Labor Day, American homeowners have roughly six ideal weekends of long-daylight, dry-weather conditions to finish outdoor lighting projects. Installing a PLUSLED 5.94″ hard-wired LED pillar post light claims one of those weekends and returns two decades of nightly ambiance, safety, and curb appeal. The ETL-listed 13W 3000K warm-white output, the compact modern black finish, and the 120V direct-wire design make it the exact type of upgrade that quietly transforms a deck, driveway, or garden path from ordinary to intentional.
Shop the PLUSLED 5.94″ LED Pillar Post Light today, pick your Saturday, and be lit up before Labor Day.