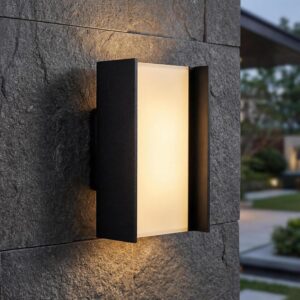
Nothing transforms a modern American home’s exterior faster than swapping out a tired, yellowing porch lantern for a sleek, matte black up-down LED wall sconce. And now that mid-summer 2026 is in full swing — with backyard BBQs, family cookouts, and pre-Labor Day guests filling driveways across the country — it’s the perfect weekend to finally get it done. If you’ve been eyeing the PLUSLED 20W Modern LED Outdoor Wall Sconce in matte black, this step-by-step installation guide will walk you through the entire DIY process from breaker to beam, safely and cleanly, in about 45 minutes.
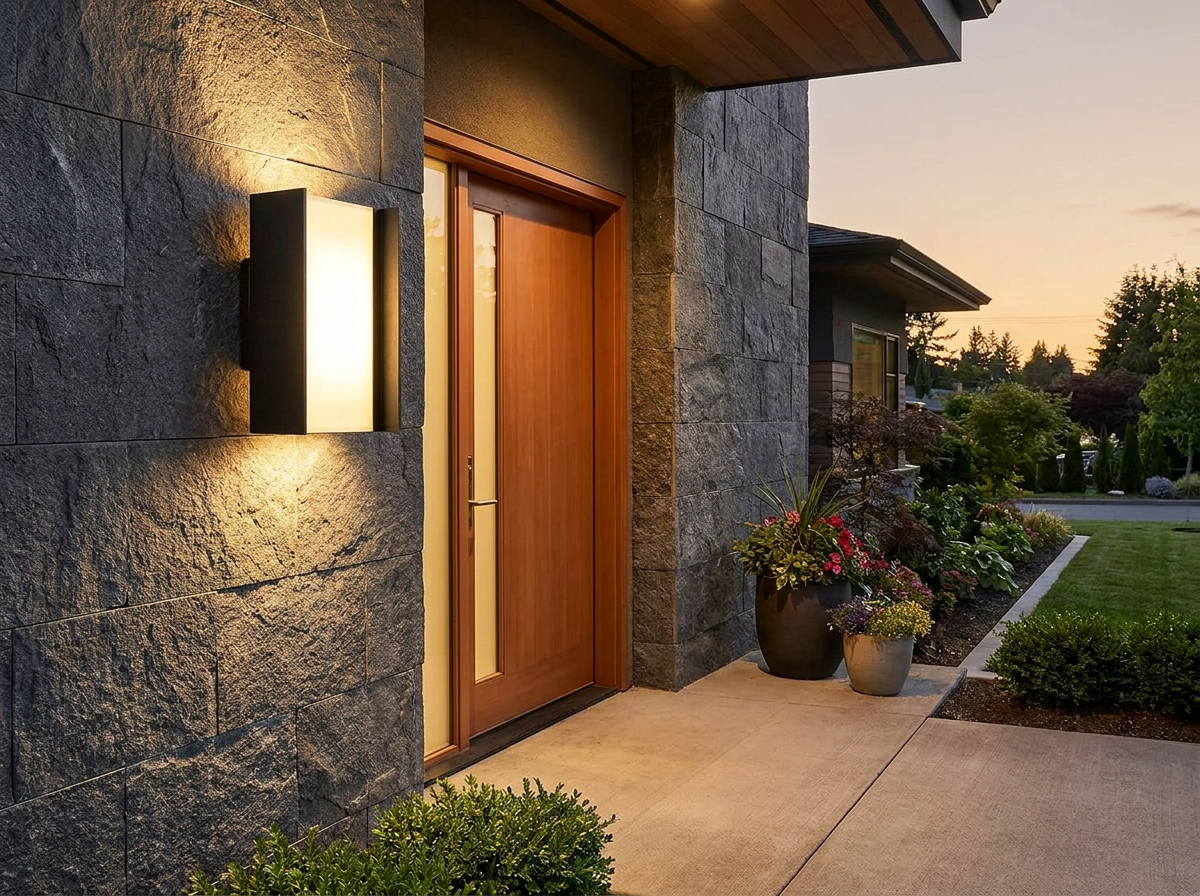
What You’ll Need Before You Start
Before you climb the ladder, gather everything you need at the base of the wall so you’re not running back into the garage with a live circuit exposed. This is a classic mistake first-time DIYers make on a hot July afternoon, and it wastes 20 minutes per trip.
- PLUSLED 20W Up-Down Modern Wall Sconce (matte black, 3000K warm white)
- Non-contact voltage tester (the yellow pen kind — under $15 at any hardware store)
- Cordless drill with Phillips + slotted bits
- Wire nuts (usually included in the PLUSLED hardware pack, but keep a backup set)
- Clear silicone caulk / exterior sealant
- Level (any small torpedo level works)
- Small stepladder rated for exterior use
- Painter’s tape (for marking screw holes without leaving pencil marks)
Step 1 — Cut the Power at the Breaker (Never Skip This)
Walk to your main breaker panel — usually in the garage, basement, or exterior utility closet — and flip the breaker labeled “Front Porch,” “Exterior Lights,” or “Outdoor Lighting.” If your panel isn’t labeled (a shockingly common situation in older US homes), flip individual breakers until the old porch light no longer responds to the wall switch. Then leave a note on the panel: “DO NOT TURN ON — installing wall sconce.” Kids and spouses have flipped breakers back on mid-install more times than any electrician can count.
Step 2 — Remove the Old Fixture
Most existing American porch lights are held on with two decorative cap nuts or Phillips screws directly into the mounting bracket. Unscrew them, gently pull the fixture off the wall, and let it hang for a moment on its wires. You’ll see three wires coming out of your junction box: a black (hot), a white (neutral), and a bare copper or green (ground). Disconnect the wire nuts, remove the old mounting bracket, and inspect the box.
Step 3 — Mount the PLUSLED Bracket
Open the PLUSLED 20W box and locate the crossbar mounting bracket. This bracket bolts directly onto the two threaded holes in your existing junction box — no new drilling into siding required for 90% of American installs. Feed the three wires from the wall (black, white, ground) through the center hole of the bracket, then secure the bracket flush against the box with the two green machine screws provided.
Use your torpedo level here. A 2-degree tilt will be visible to every guest arriving for your Labor Day cookout. Adjust the bracket before tightening the second screw.
Step 4 — Wire the Sconce
The PLUSLED 20W sconce has three color-coded pigtail wires already pre-installed on the fixture: black, white, and green (or bare copper). Match them exactly to the wires coming from your wall:
- Black (wall) → Black (fixture) — this is the hot line
- White (wall) → White (fixture) — this is the neutral
- Bare copper or green (wall) → Green (fixture) — this is the ground
Twist each pair together clockwise using your fingers first, then screw a wire nut on top until it’s snug and no bare copper is visible below the nut’s skirt. Give each connection a firm tug — if a wire pulls loose, redo it. Loose connections are the #1 cause of exterior fixture failure in humid US summer conditions.
Step 5 — Tuck the Wires and Mount the Fixture Body
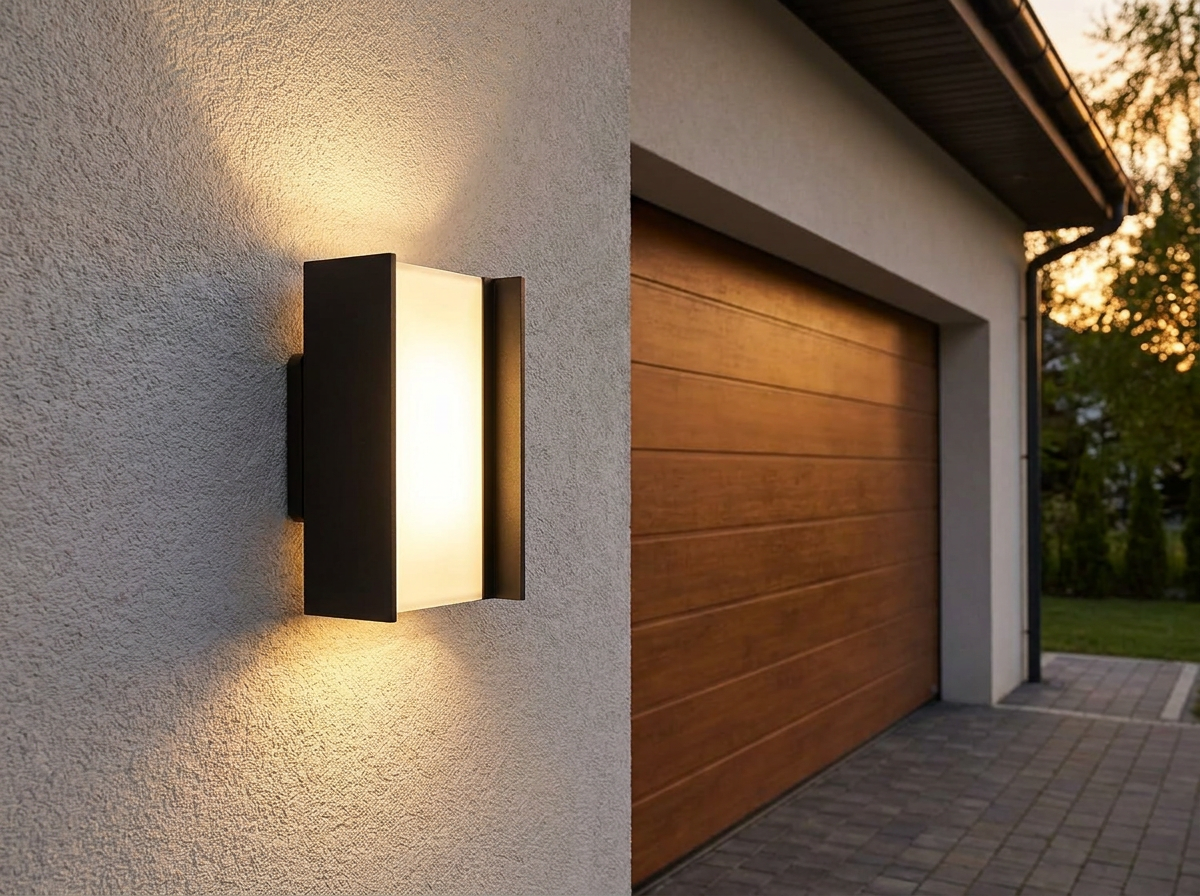
Gently push the three wire nuts and slack wire back into the junction box. Don’t cram them — the goal is a neat coil that lets the fixture sit flat against the wall. Line up the two threaded studs on the PLUSLED bracket with the two mounting holes on the sconce body. Slide the sconce onto the studs and hand-tighten the two decorative cap nuts (included). Finish snug with a wrench, but do not over-torque — the matte black aluminum housing scratches easily and you’ll see the marks in daylight.
Step 6 — Seal the Perimeter Against Summer Humidity
Run a very thin bead of clear silicone caulk around the top and both sides of the sconce where it meets the wall — but leave the bottom edge unsealed. This is critical. The bottom gap acts as a weep channel so any condensation that forms inside the fixture during humid July nights can drain out instead of pooling around the LED driver. Skip this “leave the bottom open” trick and you’ll be replacing the sconce in 18 months.
Step 7 — Restore Power and Test
Head back to the breaker panel, remove your warning note, and flip the breaker back on. Return to your front door and hit the wall switch. You should see the classic PLUSLED up-down beam pattern — a clean, warm 3000K wash of light climbing the wall above and pooling gracefully below onto your porch, walkway, or driveway. If it doesn’t come on, 95% of the time it’s a loose neutral. Kill power, redo the white-to-white connection, and try again.
Common Summer 2026 Install Mistakes to Avoid
- Installing at the wrong height: Standard American practice is to center the sconce at 66″–72″ from the finished porch floor. Too high and it looks like a spotlight; too low and it blinds your guests.
- Fully caulking the bottom edge: As mentioned in Step 6 — this traps moisture and voids the water-resistant design of the PLUSLED aluminum housing.
- Mounting on unbacked vinyl siding: Always mount into the junction box, not the siding itself. Vinyl expands and contracts 3/8″ across a July heatwave.
- Skipping the level: An off-kilter modern sconce is worse than an old lantern. The rectangular geometry amplifies any tilt.
Why This Sconce Is Worth the 45-Minute Weekend
The PLUSLED 20W sconce delivers what most sub-$100 exterior fixtures can’t: a genuine architectural up-down beam that mimics luxury outdoor lighting brands charging three times the price. The matte black aluminum resists July UV chalking, the IP65 rating shrugs off summer thunderstorms, and the 3000K warm white stays flattering to skin tones during evening cookouts — one sconce beside a modern American front door often lifts a home’s mid-summer curb appeal by a full grade.
Ready to Upgrade Your Front Door This Weekend?
You’ve got a level, a voltage tester, and 45 free minutes before the coals need lighting. That’s all it takes. Grab the PLUSLED 20W Modern Up-Down Wall Sconce today, follow the seven steps above, and by sundown you’ll have a modern, matte black architectural lighting statement waiting to welcome every Labor Day guest to your front door.