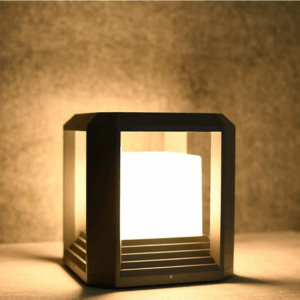
How to Install a 9.88-Inch LED Column Post Light on a Wooden Deck Rail Cap: A Late-July 2026 Weekend DIY for American Backyards Before Labor Day
Labor Day weekend 2026 is exactly five weekends away, and if you have been staring at that bare 6×6 corner post on your wooden deck all summer wondering why your backyard still looks flat after dark, you are not alone. Across the United States, homeowners are quietly making one small upgrade before the final BBQ push of the season: installing a hard-wired 20W LED column post light directly onto the deck rail cap. Warm 3000K light, ETL certification, IP65 waterproofing, all in a compact 9.88-inch package that suits modern American exteriors without shouting for attention.
This step-by-step guide walks you through installing the PLUSLED 9.88″ Modern Black Wooden Fence Deck Patio Column Post Light — a 20W, 3000K, ETL-certified pillar lamp — on a standard wooden deck rail cap. No electrician required if you already have a 120V line run to your deck. Total install time: about 45 to 60 minutes for a first-timer. Difficulty: comfortable weekend DIY.
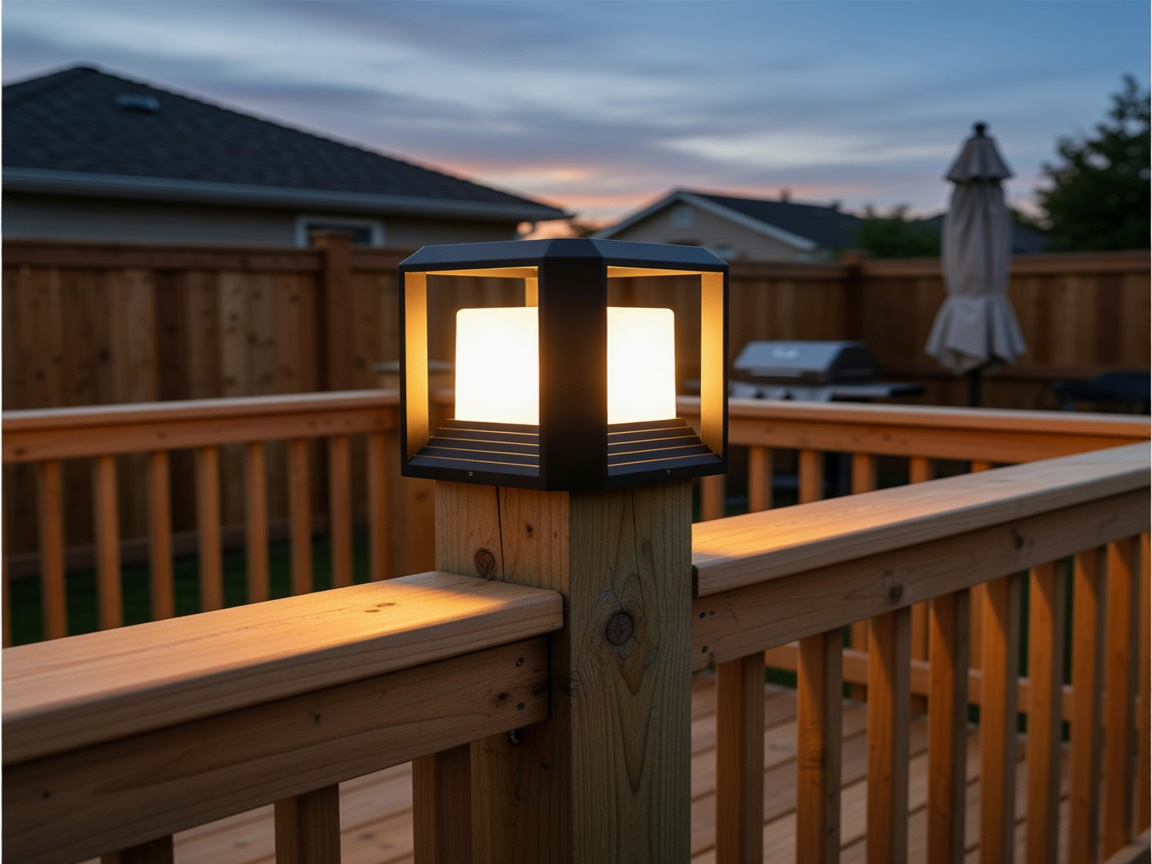
Why This Install Matters in Late July 2026
Late July in the US is that stretch when weather cooperates, evenings run long, and the calendar quietly counts down to Labor Day, back-to-school gatherings, and the fall real estate push. A well-lit deck is no longer a luxury — it is a practical outdoor room. Homeowners in Texas, the Carolinas, Ohio, and the Pacific Northwest are increasingly retiring old glass lanterns and swapping in low-profile modern column post lights that pair better with today’s black window trim and matte hardware finishes.
The 9.88″ size is the sweet spot: large enough to anchor a corner post visually, small enough not to overpower a residential deck. And unlike solar caps, a hard-wired 20W LED delivers roughly 1,600 lumens of steady, non-flickering ambient light — enough to see steps clearly, but soft enough to keep the mood casual for a summer dinner outside.
Tools & Materials You Will Need
- PLUSLED 9.88″ Wooden Fence Deck Column Post Light (20W, 3000K, ETL certified)
- Cordless drill with 1/8″ and 3/8″ bits
- Phillips head screwdriver
- Wire strippers
- 3 UL-listed weatherproof wire nuts
- Non-contact voltage tester
- Outdoor silicone caulk (clear or black)
- Pencil, tape measure, level
- Safety glasses and gloves
- 120V outdoor-rated cable (already run to your deck post, ideally from an existing GFCI-protected outdoor circuit)
Before You Start: Safety First
This is a hard-wired 120V installation. Turn off the breaker at your main panel that feeds the outdoor circuit before doing anything else. Use a non-contact voltage tester on the exposed wires at the deck post to confirm the line is dead. If you have never worked with 120V line voltage, hire a licensed electrician — it is a one-hour job for a pro and worth every penny.
Also check that your local code requires GFCI protection for outdoor circuits — in most of the US, it does. If your outdoor line is not already GFCI protected, add a GFCI breaker or a GFCI receptacle upstream of this fixture before proceeding.
Step 1: Position the Fixture and Mark the Rail Cap
Set the PLUSLED 9.88″ column post light on top of your wooden rail cap, centered on the 6×6 post below. The mounting base is square, so alignment is intuitive. Use a pencil to trace the outline of the base onto the rail cap, then mark the four mounting screw holes through the base. Also mark the wire pass-through in the center — this is where the 120V cable will feed up from below.
Use a small level across the top of the fixture. Wooden decks can settle, and a fixture that leans even 2 degrees looks crooked once it is lit. Adjust before you drill.
Step 2: Drill the Wire Pass-Through and Pilot Holes
With the 3/8″ bit, drill the center wire pass-through completely through the rail cap. If your 6×6 post below has an existing wire chase, this hole should align with it. If not, you will drill a matching hole into the post and route the cable inside the post cavity (or along the back side of the post, hidden with a wire cover).
Then, with the 1/8″ bit, drill four pilot holes for the mounting screws. Pilot holes prevent the wooden rail cap from splitting when you drive the screws home — critical for pressure-treated pine, cedar, and older weathered wood.
Step 3: Pull the 120V Cable Up Through the Post
Fish the outdoor-rated 120V cable up through your 6×6 post and out through the new 3/8″ hole in the rail cap. Leave about 6 inches of cable poking out — you will need slack to make wire connections, and any extra length can be pushed back down once the fixture is seated.
Strip about 3/4″ of insulation off each of the three cable conductors: black (hot), white (neutral), and bare copper or green (ground).
Step 4: Make the Wire Connections
Turn the PLUSLED fixture upside down so you can access the wire leads from the base. You will see three leads: black, white, and a green (or bare) ground. Match them up like for like:
- Black fixture lead + black supply wire → wire nut
- White fixture lead + white supply wire → wire nut
- Green/bare fixture lead + bare copper supply wire → wire nut
Twist each connection clockwise inside the wire nut and tug gently to confirm each is secure. Use UL-listed weatherproof wire nuts rated for outdoor use — the small silicone-filled variety is ideal because it seals out summer humidity and winter freeze-thaw moisture that would corrode a standard indoor connector within two seasons.
Step 5: Seat the Fixture and Seal the Base
Gently push the wired connections back down into the post cavity. Set the PLUSLED base squarely over the pilot holes and drive the four included mounting screws home — snug, but not so tight you crush the wooden rail cap fibers. The fixture should feel solid with no wobble.
Run a thin bead of clear or black outdoor silicone caulk around the base of the fixture where it meets the wooden rail cap. This keeps summer rainwater and morning dew from wicking into the post cavity and rotting the wood over time. Skip this step and the number one long-term failure mode is wet wood, not the fixture itself.
Step 6: Restore Power and Test
Head back to the main panel and flip the breaker back on. Return to the deck and turn on the wall switch (or dusk-to-dawn sensor, if wired through one) that controls the fixture. The PLUSLED 20W LED should glow within a second — that warm, non-blue 3000K color that reads as inviting rather than clinical.
Step back 15 feet, look at the deck from the yard, and adjust the aim if needed. Most homeowners find the light beautifully illuminates the deck floor and the top few feet of the fence line — perfect for evening entertaining before Labor Day weekend.
Common Late-Summer Install Mistakes to Avoid
- Skipping the caulk bead. Wood absorbs moisture through summer thunderstorms; sealing the base doubles the fixture’s practical lifespan on a wooden post.
- Over-tightening mounting screws. Wood compresses. Stop when the fixture is firm; another quarter turn splits the rail cap.
- Using indoor-rated wire nuts. They fail within two American summers. Weatherproof or silicone-filled only.
- Installing at high noon. You want to check the beam spread at dusk. Plan the install for late afternoon so you can test properly.
Why This Fixture Fits American Summer 2026
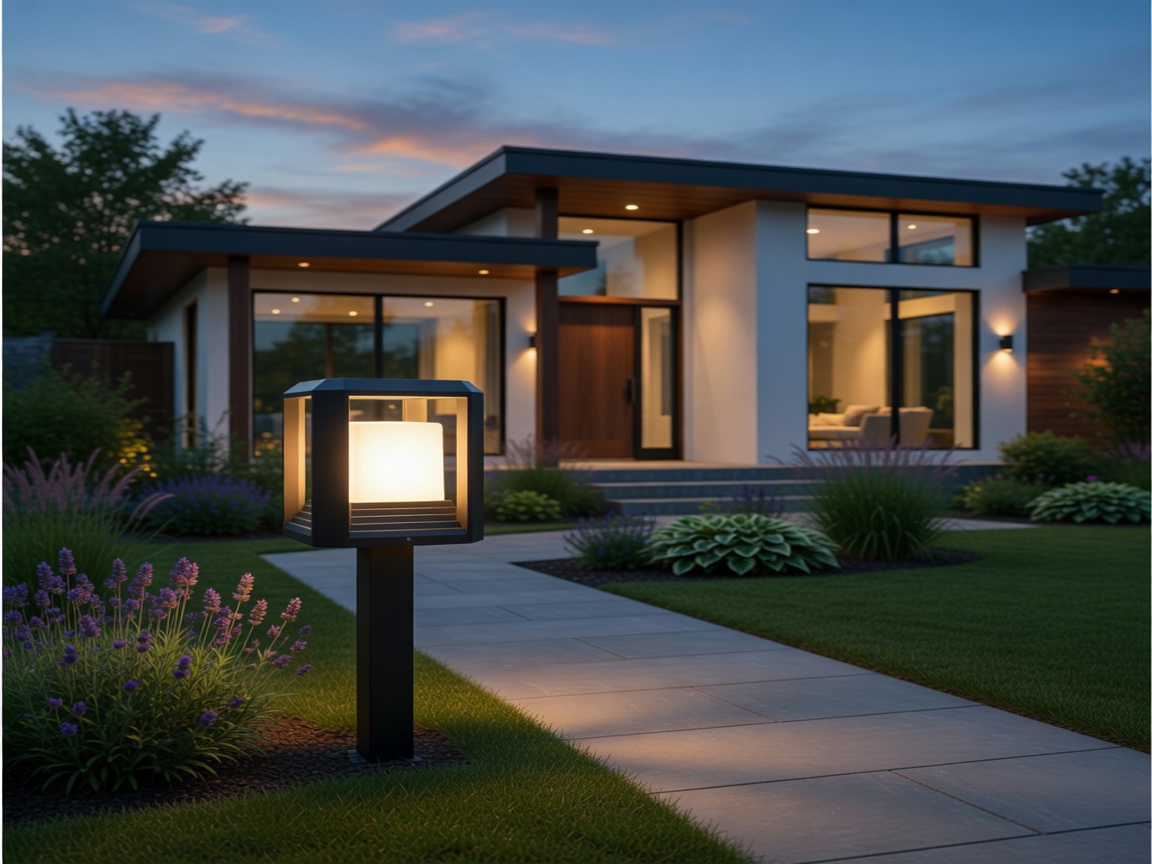
Modern American homes increasingly favor matte black exterior finishes, minimal detailing, and warm 3000K lighting over the yellowy 2700K and clinical 4000K extremes. The PLUSLED 9.88″ LED Column Post Light hits all three targets at a price point under $80 — well inside the $60 to $120 sweet spot where fixture engineering peaks before you start paying for brand names.
Its IP65 rating handles Gulf Coast humidity, Midwest thunderstorms, and Pacific Northwest drizzle equally well. And because it is ETL certified for the North American market, it plays nicely with your existing 120V house wiring — no low-voltage transformer, no landscape hub, no smart bridge required.
Ready for Labor Day 2026
A single well-placed 20W LED post light does more for backyard curb appeal than a string of solar path markers ever will. And unlike solar, it works in November, in January, and after three cloudy days in a row. Install one this weekend on your main deck corner, then repeat on the opposite corner next weekend for symmetry — by Labor Day 2026 your outdoor entertaining space will look like a magazine spread, not an afterthought.
Shop the PLUSLED 9.88″ Modern Black LED Column Post Light today and get it installed on your wooden deck rail cap before the final BBQ push of summer 2026.