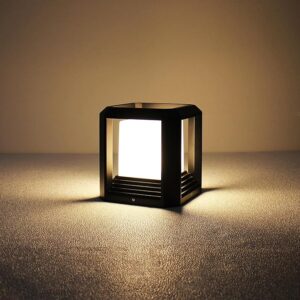
With Independence Day weekend 2026 just around the corner, American homeowners are racing to finish one last curb-appeal upgrade before the burgers hit the grill: a clean, modern outdoor post light mounted right on top of the deck railing or fence post. If you have a 6×6 wooden deck post (or even a 5.5″x5.5″ cedar fence column) and you want hardwired, ETL-certified light by the time guests arrive on July 4th, this two-hour Saturday install is for you.
This step-by-step guide walks you through installing the PLUSLED 20W 3000K Modern Black Outdoor Column Lamp (built for 5.91″ x 5.91″ x 6.34″ wooden posts) on a deck railing post. You’ll get a clean look, warm 3000K glow, and a waterproof IP65-rated lantern that won’t quit during the late-summer thunderstorm season.
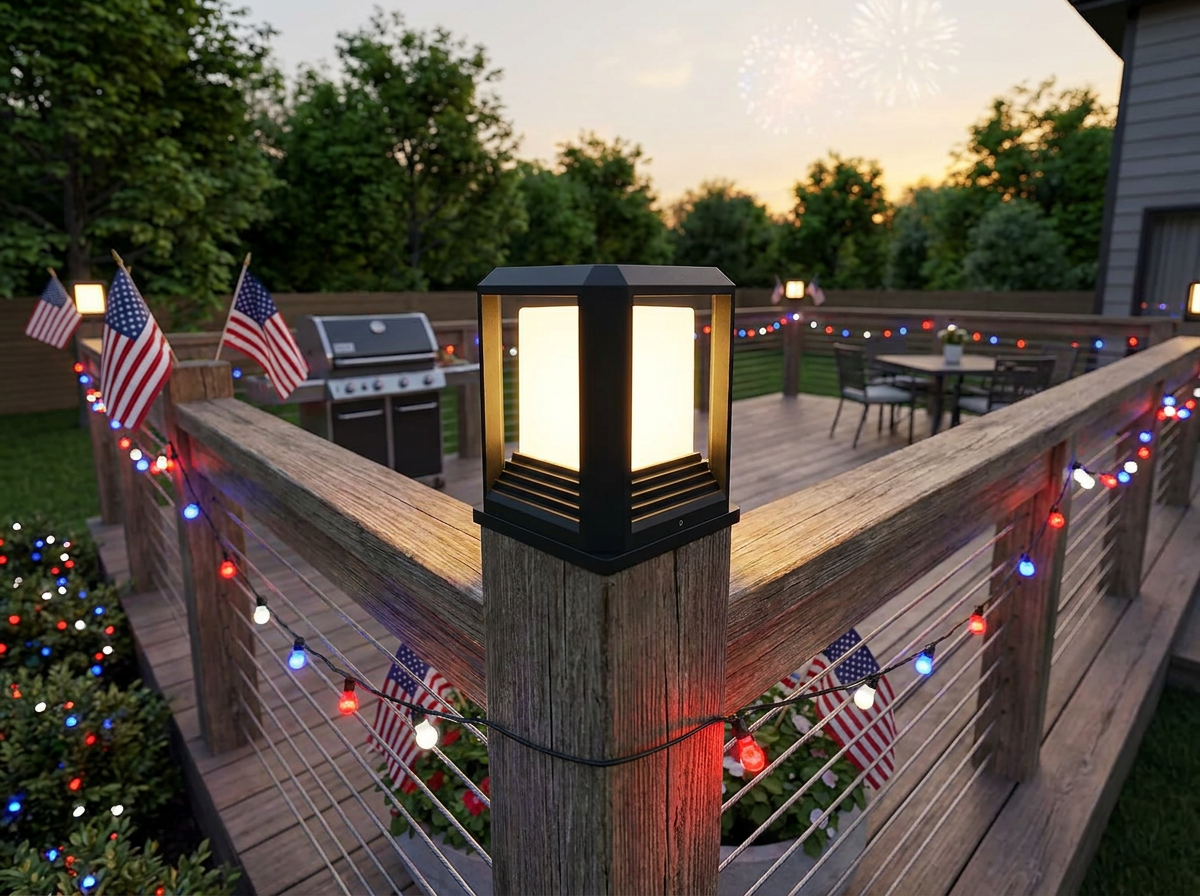
Why Mount a Post Light on Your Deck Railing for July 4th 2026?
Solar caps are everywhere, but for July 4th cookout traffic — kids running around, beverages being shuffled, the dog deciding it owns the deck — you need real, hardwired output. The PLUSLED 20W modern black outdoor post light pushes ~1,800 lumens of warm 3000K light, which is roughly 6–8x what a typical solar deck cap produces after a cloudy day. That means your stair edges, drink table, and railing perimeter are clearly visible until midnight, not just the first 90 minutes after sunset.
It also dodges the biggest summer 2026 deck complaint we’ve seen on Reddit’s r/HomeImprovement: warped solar caps after the May–June heat dome. Hardwired aluminum housings hold up.
What You’ll Need (Tools & Materials Checklist)
- 1x PLUSLED 5.91″ 20W 3000K Modern Black Outdoor Post Light (ETL certificated)
- Cordless drill with 3/16″ wood bit + Phillips bit
- Level (a 9″ torpedo level is plenty)
- Wire strippers and lineman’s pliers
- 3 wire nuts (red/yellow rated for 18–12 AWG)
- Outdoor-rated low-voltage cable or 14/2 UF-B cable (depending on your existing circuit)
- Silicone outdoor sealant (clear)
- Pencil and tape measure
- GFCI tester
- Optional: in-line photocell or smart Wi-Fi outlet for dusk-to-dawn automation
Before You Start: Confirm Your Post Top is Square & Solid
The PLUSLED modern black outdoor post light is engineered for a 5.91″ x 5.91″ footprint with a 6.34″ tall column body. Before drilling anything, take 30 seconds to:
- Confirm your deck or fence post top is at least 5.91″ x 5.91″ (a standard 6×6 nominal post is 5.5″ — you’ll want a flat post cap adapter or a 6.5″ base plate). Pure 6×6 rough-sawn or true 6×6 cedar works perfectly.
- Press down on the post. If it wobbles more than 1/8″, reinforce the post bracket before mounting. A 20W light fixture in a thunderstorm wind is no joke.
- Level the top of the post. If it slopes more than 2°, plane it flat or add a shim — your post light needs a flat surface to seal against water.
Step 1: Plan Your Wiring Path (10 minutes)
You have two clean options for a deck post installation:
- Low-voltage transformer route (easier): Run 14-gauge low-voltage outdoor cable from a 60W+ landscape transformer plugged into your existing GFCI outdoor outlet. The PLUSLED post light is ETL-rated and works on standard 120V, but if you wire several lights in series along a deck, low-voltage with a step-up driver is the homeowner-friendly path.
- 120V hardwired route (cleanest finish): Tap into the existing deck-side circuit (most US decks built after 2010 have a dedicated 20A GFCI). Run 14/2 UF-B cable up through the inside of the post (drill a 1/2″ hole at the post base) to the top.
Whichever route you pick, turn off the breaker at the panel before you touch any wires and verify with a non-contact voltage tester. This is non-negotiable for a US homeowner — codes vary by state, but every NEC update since 2017 is stricter on outdoor GFCI protection.
Step 2: Drill the Cable Pass-Through (15 minutes)
Mark the center of your post top with a pencil. Drill a 3/4″ hole straight down 1.5″ deep — that’s your cable pass-through. Then, from the side of the post (the side facing your house, where the cable will enter), drill a matching 3/4″ hole that meets the vertical channel.
Run your cable up from the side hole, fish it out the top with a coat-hanger hook, and leave 8″ of slack at the top. Apply a small bead of silicone sealant around the entry hole (outside) to keep wasps and rain out.
Step 3: Mount the PLUSLED Base Plate (15 minutes)
The PLUSLED 5.91″ outdoor post light ships with a base flange and four mounting screws. Place the base on the post top, center it over your pass-through hole, and mark the four screw points with your pencil. Pre-drill 3/16″ pilot holes (this prevents the cedar or pressure-treated post from splitting).
Pull your wires through the center of the base, then screw the base down hand-tight, then 1/4 turn more with the drill on its lowest torque setting. Don’t overtighten — you want the rubber gasket compressed, not crushed.
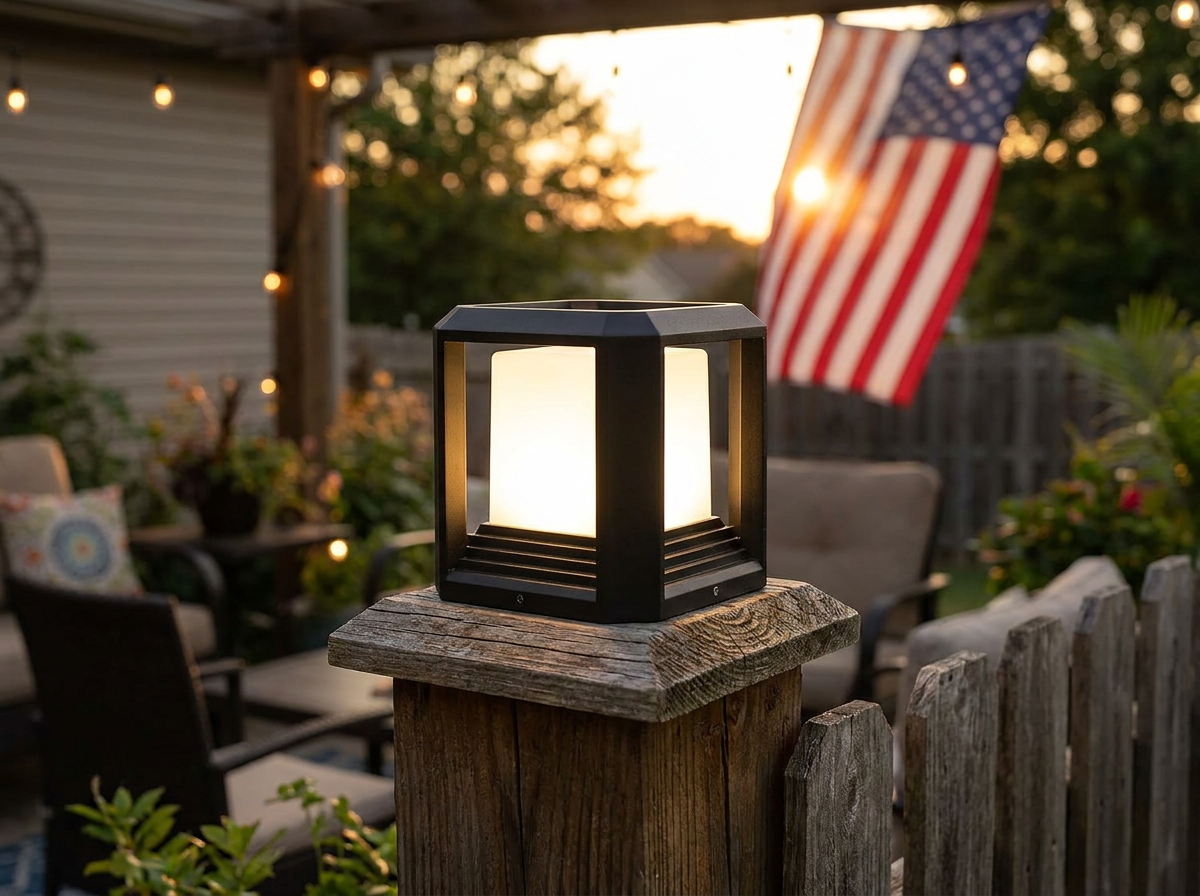
Step 4: Make the Wire Connections (10 minutes)
Strip 5/8″ of insulation off both your supply wires and the PLUSLED fixture’s leads. Match colors:
- Black to black (hot)
- White to white (neutral)
- Green or bare copper to ground (essential — this is what makes it ETL-certified safe)
Twist each pair clockwise with lineman’s pliers, cap with a wire nut, and tug-test each connection. Tuck the connections neatly into the column body so the housing seats flush. A quick dab of dielectric grease inside the wire nuts adds another decade of moisture protection.
Step 5: Seat the Lantern Head & Seal (10 minutes)
Lower the PLUSLED column body over the base, aligning the four interior pegs. Tighten the four side-mount Allen screws with the included key — go diagonal-pattern, not in a circle, so the gasket compresses evenly. Run a thin clear silicone bead around the bottom seam where the column meets the base plate. This is your last line of defense against driven summer rain.
Step 6: Power On & Test Before the Cookout
Turn the breaker back on. Flip the switch. The PLUSLED 20W LED should fire instantly — no warm-up, no flicker — at a warm 3000K (think the color of a backyard string light, not a parking lot). Verify the GFCI hasn’t tripped. If you wired multiple lights along your deck or fence run, walk the perimeter and confirm every fixture is glowing evenly.
Now leave it on through the night. Check at sunrise: any condensation inside the lens means your gasket isn’t fully sealed. Re-seat and re-silicone if so.
Pro Tip: Add Dusk-to-Dawn Automation Before Friday
If you’re hosting on July 3rd or 4th, you do not want to be running outside at 8:42 PM to flip a switch while ribs are mid-flip. Drop a $14 outdoor smart plug or an in-line photocell on the supply circuit. The PLUSLED post light pulls only 20W per fixture, so even a small landscape circuit can carry 6–8 of them on dusk-to-dawn automatically.
Common Install Mistakes to Avoid
- Skipping the level check. A post that’s 3° off makes the lantern look crooked from 20 feet away — and your guests will notice.
- Forgetting the silicone bead. The PLUSLED fixture is IP65, but only if the seam is sealed. Otherwise pollen and rain creep in.
- Using indoor wire nuts. Always use weatherproof outdoor-rated nuts (or fill standard nuts with dielectric grease).
- Mounting on a 4×4 post without an adapter. The PLUSLED post light is sized for 5.91″ — a true 6×6 or 5.5×5.5 post fits perfectly. A 4×4 will look undersized and unstable.
Two Hours, $52.99, Done by Saturday Sundown
That’s the whole installation. Most homeowners knock it out in under two hours including the cable run. Per fixture, you’re at $52.99 plus maybe $20 in wire and silicone — a fraction of what an electrician would charge to mount a single deck post light. And you’ll have it glowing in time for the July 4th 2026 fireworks watch party on the deck.
Once your guests see the warm 3000K light hit the railing posts and the deck stair edges? You’ll be the friend group’s go-to for backyard upgrades for the rest of summer 2026. Shop the PLUSLED 5.91″ 20W modern black outdoor post light today and have it on your doorstep before Friday — Amazon Prime delivery still hits in time if you order Tuesday morning.