
How to Install a 20W LED Post Light on a Wooden Fence Post: The Complete Summer 2026 DIY Guide for American Decks, Patios & Backyards Before Labor Day
Late summer 2026 is the sweet spot for outdoor lighting upgrades in American backyards. Labor Day weekend is only a few weekends away, the BBQ season is at its peak, and buyers across the U.S. are searching for one specific project: how to install an LED post light on a wooden fence, deck, or patio post — the DIY way, in one afternoon, with zero electrician bill. If you’ve been eyeing your bare 4×4 or 6×6 wooden posts and wondering how to make them glow like the ones you see on Pinterest and TikTok, this is the guide for you.
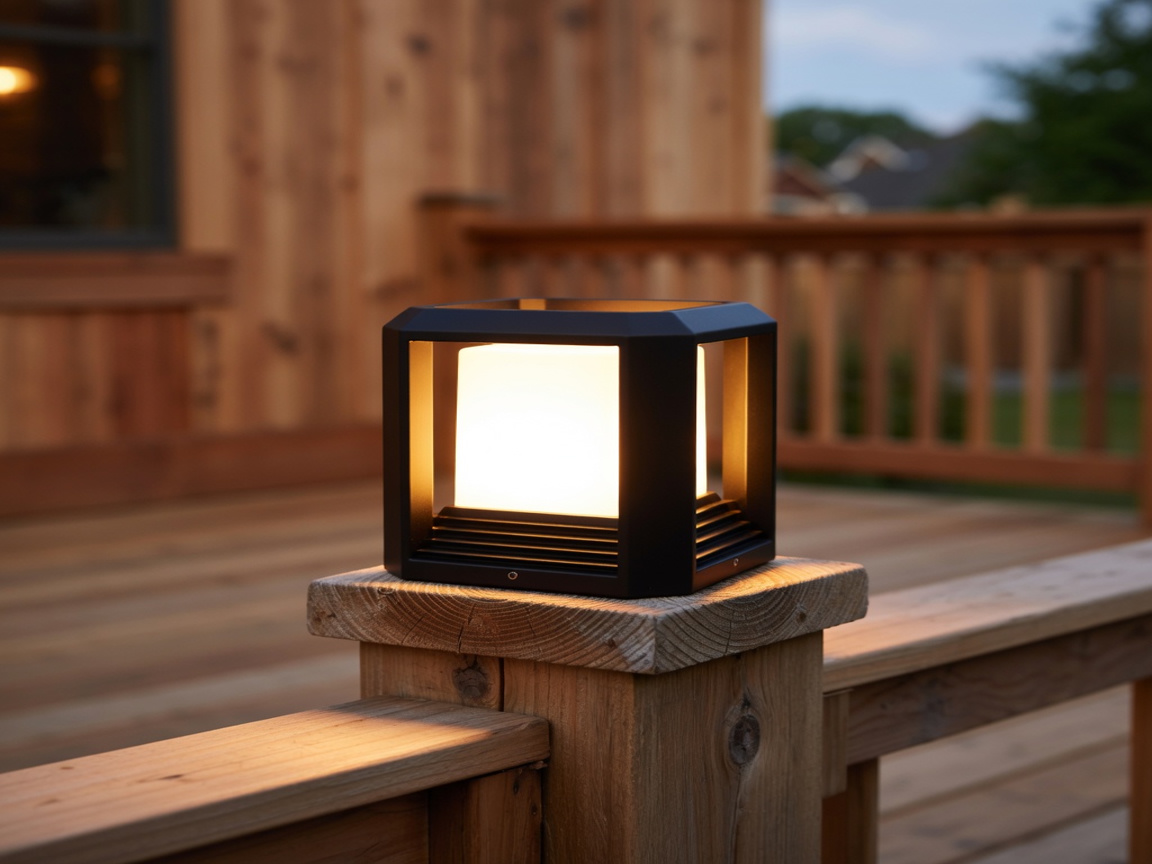
In this step-by-step tutorial, we’ll walk you through installing the PLUSLED 20W Modern Black Outdoor Post Light (5.91″ × 5.91″ × 6.34″) — an ETL-certified, waterproof LED lantern designed to slide right over standard 5.91-inch wooden posts. It’s the exact fixture we recommend for late-summer curb-appeal upgrades because it doesn’t require an electrician, doesn’t need custom brackets, and doesn’t demand any special tools. If you can hold a drill and follow a wiring diagram, you can install this light tonight and have your backyard glowing before your first Labor Day cookout.
Before You Start: Tools, Materials & Safety Checklist
Every good DIY installation starts with the right tools. The good news is that the PLUSLED post light is engineered for homeowners, not electricians, so the list is short. Here’s what you’ll need on your workbench before you climb the ladder:
- The fixture: PLUSLED 20W Modern Black Outdoor Post Light (fits 5.91″ × 5.91″ posts)
- Cordless drill with a Phillips-head bit and a 3/8″ wood bit
- Wire strippers and a small pair of pliers
- Waterproof wire nuts (usually included, but grab a few spares)
- Level — a 6-inch torpedo level works perfectly on top of a post
- Weatherproof outdoor extension cord or existing low-voltage transformer
- Voltage tester — always test before you touch a wire
- Ladder or step stool if your posts sit above deck height
Safety first: Even though the PLUSLED 20W post light draws very little power, always cut power at the breaker before working on any hardwired connection. If you’re running low-voltage (12V) wiring from a landscape transformer, unplug the transformer at the outlet. In summer, temperatures on decks can hit 100°F+ in the afternoon sun — plan your installation for early morning or after 6 PM to save yourself from working in the heat.
Step 1 — Measure Your Fence, Deck, or Patio Posts
The PLUSLED 20W post light is designed for standard 5.91-inch (approximately 6″) wooden posts — the exact size used on the majority of American backyard fences, deck railings, and pergolas built in the last 20 years. Grab a tape measure and check the top of your post: measure width, depth, and confirm the top is cut flat (not angled).
If your post is slightly under 5.91″ (a common issue with older weathered cedar), that’s fine — the lantern will still sit securely with the included screws. If your post is over 6″, you may need to sand or plane the top edge down. Don’t try to jam the fixture on; wood has some give, but forcing it can crack the internal driver housing.
Step 2 — Plan Your Wiring Route (Line Voltage or Low Voltage)
You have two wiring options for the PLUSLED post light. Which one you choose depends on what’s already installed in your yard:
- Option A — 120V hardwired: If your deck or patio already has a GFCI-protected outdoor circuit running to a nearby post, you can splice into the existing junction box. This gives you full brightness and works with your home’s regular light switch. Best for permanent installs.
- Option B — Extension cord + smart plug: The simplest DIY route. Plug the fixture’s cord into a weatherproof outdoor outlet with a photocell smart plug (dusk-to-dawn automation). Works instantly, no wiring required, and perfect for renters or homeowners who don’t want to pull permits.
For a typical American backyard adding 4–6 post lights along a fence, Option B is what 80% of DIYers choose. It takes 15 minutes per fixture and requires zero code-inspection paperwork.
Step 3 — Mark and Pre-Drill the Post
Place the fixture on top of the post and center it visually. Use a pencil to mark the four corner screw holes. Remove the fixture and pre-drill each mark with a 3/32″ wood bit — this prevents wood splitting, especially in dry summer cedar or pressure-treated pine.
If you’re routing the power cord through the post (a clean look many homeowners prefer for their Labor Day photos), drill a 3/8″ hole in the center of the post top going straight down. Feed the fixture’s cord through this hole before you set the fixture in place.
Step 4 — Mount the Fixture and Level It
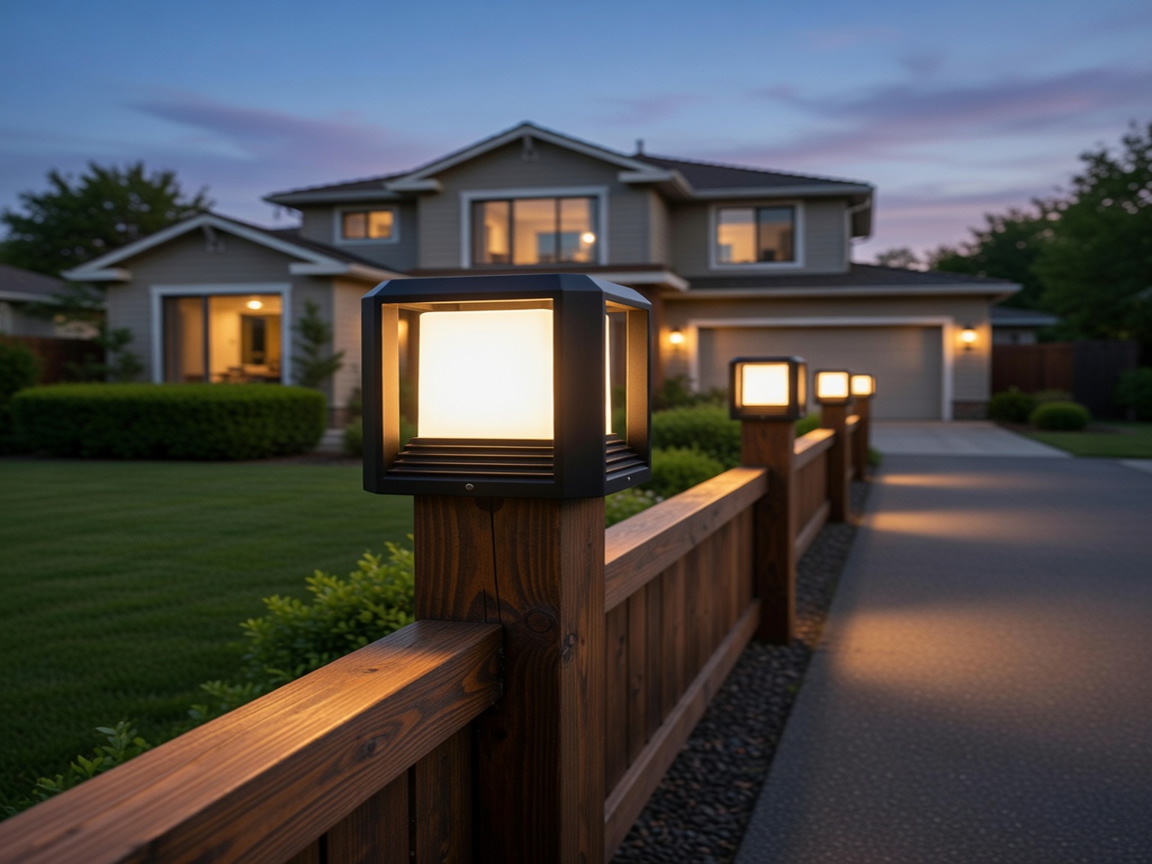
Set the PLUSLED 20W post light on top of the post, aligning it with the pre-drilled holes. Drive in the four included screws finger-tight first, then place your torpedo level on top of the lantern. Adjust as needed and tighten fully. A crooked post light is the #1 mistake DIYers make — take an extra 30 seconds here and your final look will be professional-grade.
Because the PLUSLED fixture is ETL-certified and rated IP65 waterproof, you don’t need to caulk the seam between the fixture base and the post top. The internal gasket handles summer thunderstorms, sprinkler overspray, and the humidity swings that hit most of the U.S. from July through September.
Step 5 — Make the Wiring Connection
For hardwired 120V installs: match black to black (hot), white to white (neutral), and green or bare copper to the ground screw. Twist each connection with a waterproof wire nut, then wrap with electrical tape for extra insurance against summer moisture.
For plug-and-play installs: simply run the cord to your nearest weatherproof outdoor outlet. Add a photocell smart plug so the lights automatically turn on at dusk — a small $12 upgrade that instantly transforms your backyard into a resort-style outdoor room every night from Labor Day through fall.
Step 6 — Test, Tune, and Enjoy
Restore power at the breaker (or plug in the transformer). Wait for dusk and watch the warm 3000K glow fill your backyard. The PLUSLED 20W puts out approximately 1,600 lumens per fixture — bright enough to safely light a walkway, soft enough to keep your evening ambiance cozy for late-summer entertaining.
Pro Tips for a Labor Day 2026 Backyard Reveal
- Space fixtures 8–10 feet apart along fence lines for the layered-glow look trending on 2026 Instagram feeds
- Install in pairs at both sides of a garden gate for symmetrical curb appeal
- Combine with string lights above the deck for a full-dimensional lighting scheme
- Add a smart plug with sunset automation so your yard is glowing before guests arrive
Ready to Light Up Your Summer 2026 Backyard?
You don’t need an electrician, a permit, or a $2,000 lighting-designer invoice to transform your yard before Labor Day. The PLUSLED 20W Modern Black Outdoor Post Light is the DIY-friendly, ETL-certified upgrade that thousands of American homeowners are installing this summer — in under 30 minutes per fixture. Get yours today, install it this weekend, and enjoy the warmest, most inviting backyard on your street for the rest of the 2026 outdoor season.
Shop This Product
Shop the PLUSLED 20W Modern Black Outdoor Post Light today — waterproof, ETL-certified, fits standard 5.91″ posts, and ships fast so it arrives before your Labor Day weekend cookout.