Spring 2026 has arrived, and if your fence, deck, or garden path has been looking a little dark after sunset, there’s no better time to change that. Installing an outdoor post light on a wooden post is one of the most satisfying DIY home improvement projects of the season — and with the right fixture, it takes less than an afternoon. In this complete step-by-step guide, we’ll walk you through exactly how to mount the PLUSLED Modern Black LED Post Light on a 5.91″ × 5.91″ wooden post, whether it’s on your fence, deck, patio column, or garden path.
Whether you’re sprucing up your curb appeal before Mother’s Day or simply want to enjoy your backyard well into warm spring evenings, this guide covers everything from tools and safety to wiring and final adjustments.
Why the PLUSLED Modern Black Post Light Is the Right Choice
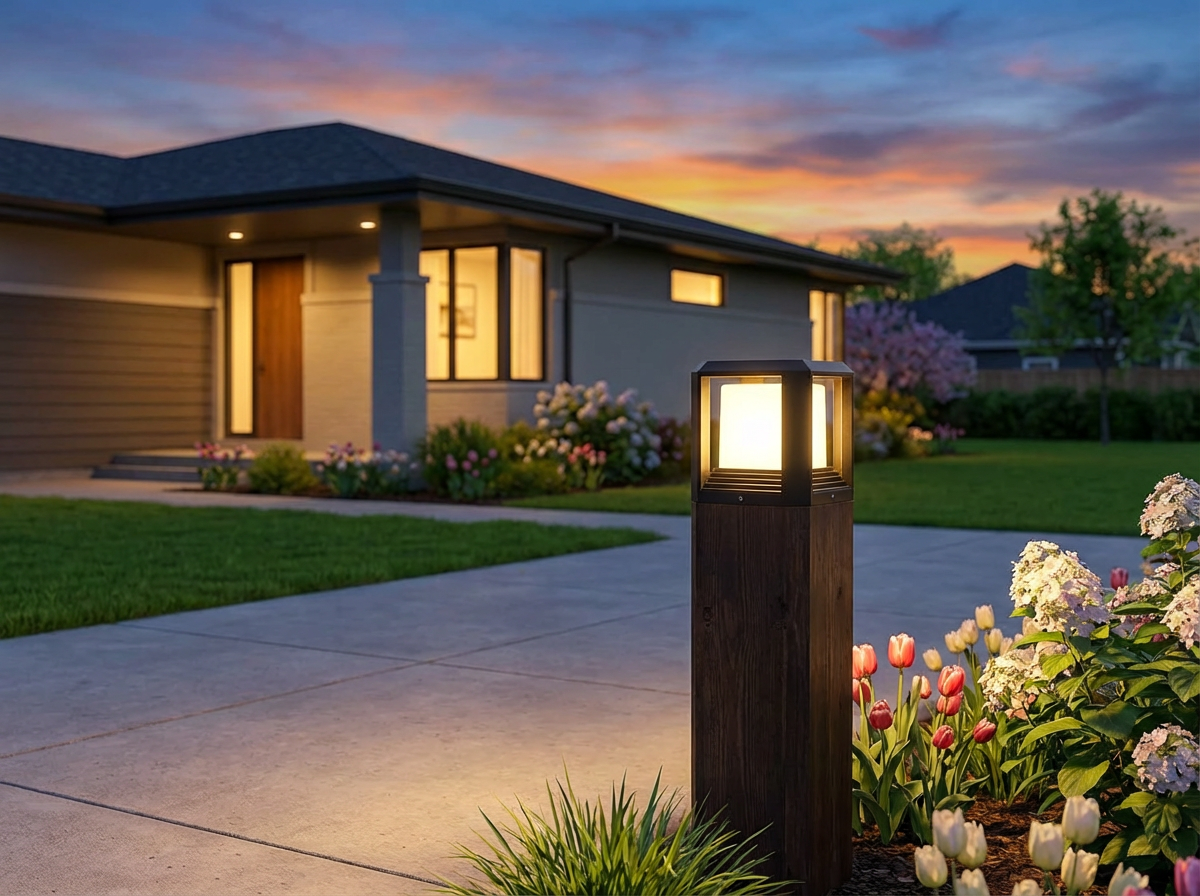
Before we dive into installation, it’s worth understanding why this particular fixture is so popular with American homeowners this spring. The PLUSLED Modern Black Outdoor Column Lamp is a 20W, 3000K warm-white LED lantern designed specifically to cap wooden posts sized 5.91″ × 5.91″ × 6.34″ — a standard dimension for deck and fence posts across the US. It’s IP65 waterproof rated, meaning it holds up against rain, humidity, and seasonal temperature swings. It’s also ETL certified for use in North America, giving you peace of mind during inspection or resale.
The sleek matte black finish coordinates effortlessly with modern farmhouse, contemporary, and traditional architectural styles alike — and at 20W, it delivers brilliant illumination without running up your electricity bill.
Tools and Materials You’ll Need
- PLUSLED Modern Black LED Post Light (included: mounting hardware, screws, wire connectors)
- Flathead and Phillips screwdrivers
- Wire stripper / wire cutter
- Voltage tester (non-contact type recommended)
- Drill with bits (if your post doesn’t already have a conduit hole)
- Electrical conduit or fish tape (for running wire inside post)
- Waterproof wire connectors / wire nuts
- Circuit breaker access
- A helper (optional, but great for alignment)
Step 1: Turn Off the Power
Safety comes first. Head to your home’s electrical panel and turn off the circuit that powers the outdoor lighting run where you’ll be working. Use a non-contact voltage tester at the post location to confirm no live current is present before you touch any wiring. This step is non-negotiable.
Step 2: Prepare the Post
If your wooden post already has electrical conduit running through it, great — skip ahead. If not, you’ll need to drill a vertical channel through the post top and route wire down through the interior. Use a 3/4″ spade bit to create a clean entry point at the top center of the post. Run your electrical wire (typically 12/2 or 14/2 outdoor-rated wire) from the power source up through the conduit and leave 6–8 inches of slack extending from the top of the post.
Step 3: Connect the Wires
The PLUSLED post light comes with clearly labeled leads: black (hot), white (neutral), and green or bare copper (ground). Match these to the corresponding wires from your post:
- Black to black (hot)
- White to white (neutral)
- Green/copper to green/copper (ground)
Twist each pair together clockwise and secure with a waterproof wire nut. Give each connection a gentle tug to confirm it’s seated firmly. Avoid standard indoor wire nuts — use weatherproof models designed for outdoor applications to prevent moisture intrusion over time.
Step 4: Mount the Post Light Base
Tuck the wire connections carefully into the base of the fixture. Align the PLUSLED post light’s mounting plate squarely over the top of your wooden post. The fixture is designed to fit posts measuring 5.91″ × 5.91″ — a perfect fit for standard US 6×6 nominal lumber (actual dimension ~5.5″–5.75″). Use the included stainless screws to secure the base plate to the top of the post. Drive screws in an X pattern — tighten diagonally opposite corners in sequence to keep the fixture centered and level.
Pro tip: place a small bead of clear outdoor silicone caulk around the perimeter of the base plate before tightening. This creates an extra moisture barrier between the fixture and the wood — especially important for fence posts exposed to rain and sprinkler systems.
Step 5: Restore Power and Test
Head back to your breaker panel and restore power to the circuit. Flip on your outdoor light switch — the PLUSLED column lamp should illuminate immediately with a warm, inviting 3000K glow. Walk around the post and confirm the fixture is seated straight and the light is casting evenly in all directions.
If the light doesn’t come on, turn off power again and double-check your wire connections. A loose neutral wire is the most common culprit in post light installations.
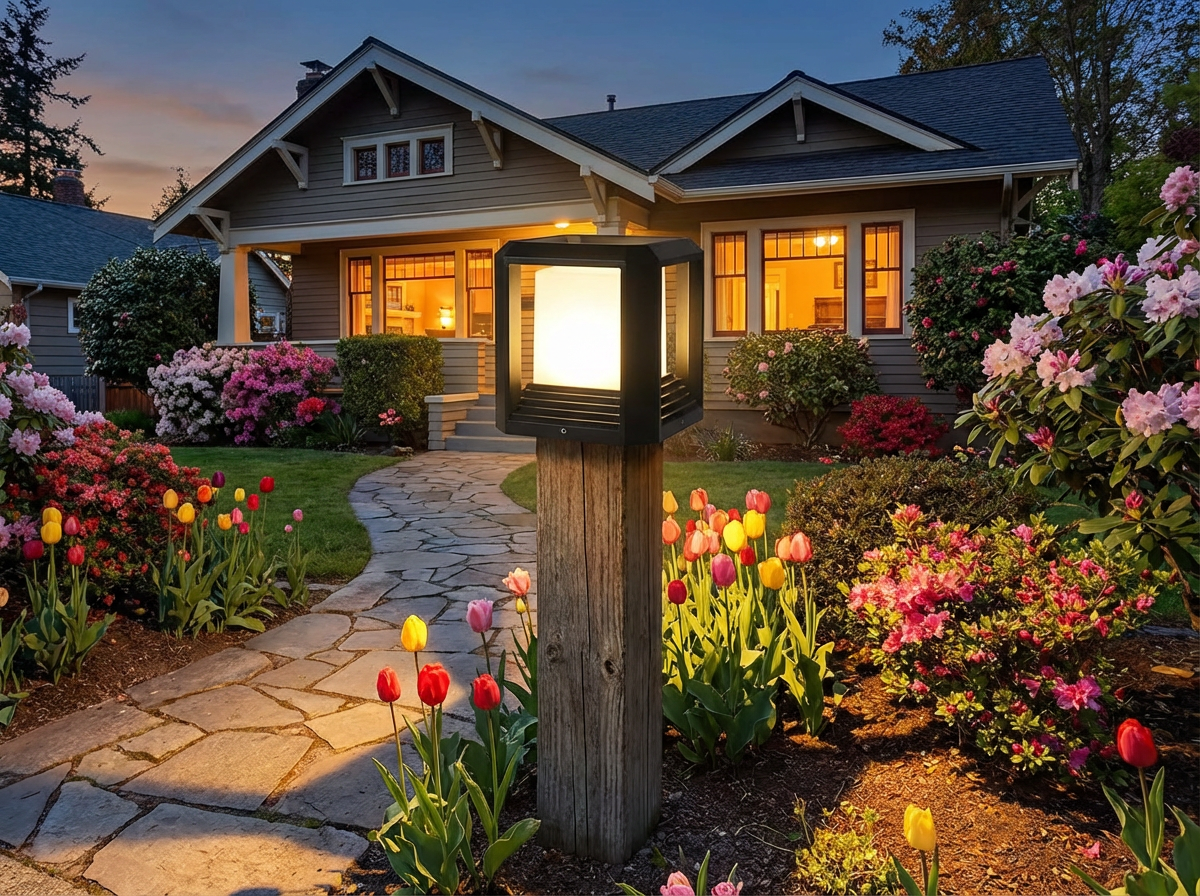
Placement Tips: Where to Install Your PLUSLED Post Lights This Spring
Now that you know the installation process, here are the most impactful locations to add PLUSLED outdoor post lights on your property this spring:
- Driveway entrance posts — Frame your driveway with post lights for dramatic curb appeal that’s visible from the street.
- Deck corner posts — Define the edges of your deck and create a resort-like ambiance for outdoor entertaining.
- Fence gate posts — Illuminate entry points to your backyard for safety and a polished look.
- Garden path columns — Guide guests along walkways with warm light that highlights your landscaping.
- Patio pergola posts — Layer lighting on pergola uprights to extend outdoor dining and relaxation into the evening hours.
Maintenance: Keeping Your Post Light Looking Great Season After Season
The good news: LED fixtures like the PLUSLED post light require almost zero maintenance. The LED module has an estimated 50,000-hour lifespan — that’s over 17 years at 8 hours per day. To keep the matte black finish looking sharp, wipe the exterior with a damp cloth a couple times per year to remove pollen, dust, and water spots. The IP65 rating handles rain and splashing water without issue, so you don’t need to cover or remove it seasonally.
Ready to Upgrade Your Outdoor Space?
Spring is the season for fresh starts, and nothing transforms a home’s exterior faster than great outdoor lighting. The PLUSLED Modern Black LED Post Light combines professional-grade construction, ETL certification, and a timeless design that works on fences, decks, patios, and garden paths alike. Installation is straightforward enough for a weekend afternoon — and the results last for years.
Shop the PLUSLED Outdoor Post Light today and give your home the spring lighting upgrade it deserves: View Product →
Shop This Product
Like what you see? Click below to view full product details and order from our store.
View Product Details →