How to Install Hardwired Outdoor Post Lights Step by Step — Spring 2026 Driveway & Garden DIY Guide
Spring 2026 is here, and there’s no better time to upgrade the exterior of your home. Whether you’re refreshing your driveway for Easter gatherings, boosting curb appeal ahead of Mother’s Day, or simply making your yard safer after dark, adding hardwired outdoor post lights is one of the most rewarding weekend projects an American homeowner can tackle. Unlike battery-powered or solar options, a hardwired 120V LED pillar light delivers consistent, bright, weather-resistant illumination every single night — no charging, no fading, no seasonal failures. In this step-by-step guide, we’ll walk you through everything you need to install the PLUSLED 13W Outdoor Column Post Light along your driveway, garden path, deck, or fence line this spring.

What You’ll Need Before You Start
Before you dig a single hole, gather everything on this list. Having it all ready saves you mid-project hardware store runs.
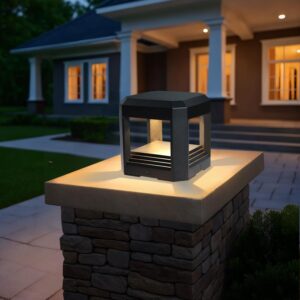
- PLUSLED 13W Outdoor LED Column Post Light (ETL Listed, 120V, 3000K warm white)
- Post mount base or in-ground anchor (check if included with your fixture)
- Post-hole digger or round shovel
- Conduit and UF-B (underground feeder) 12/2 or 14/2 electrical cable
- Wire connectors (wire nuts or push-in connectors)
- GFCI outlet or GFCI circuit breaker (required by NEC for outdoor use)
- Concrete mix (fast-setting is easiest)
- Level, measuring tape, voltage tester
- Safety gloves and glasses
Pro tip: Always check your local building codes before beginning. Most jurisdictions require outdoor low-voltage and line-voltage wiring to be permitted. For 120V hardwired work, if you’re not confident with electrical connections, hire a licensed electrician for the wiring portion only.
Step 1 — Plan Your Layout and Mark Locations
Start by walking your driveway or garden path and deciding exactly where each post light will go. For driveways, spacing post lights every 8–12 feet on alternating sides creates a balanced, welcoming look. For garden paths, 6–8 feet apart on one side works beautifully. Use spray paint or small flags to mark each location. Also map the route your underground wiring will travel from the power source (usually a junction box or breaker panel) to each fixture location — this is your trench line.
Step 2 — Dig the Post Holes and Wiring Trench
Use a post-hole digger to dig each hole to a depth of 18–24 inches (deeper in frost-prone areas to get below the frost line). For the wiring trench, dig 12 inches deep minimum — this keeps your conduit safe from damage and meets most local codes. A flat spade makes trench work easier. Run your conduit through the trench, leaving extra length at each fixture location for connection work. Pull your UF-B cable through the conduit before backfilling.
Step 3 — Set the Post and Pour Concrete
Thread your electrical cable up through the center of the post (most outdoor post lights have a hollow center channel for this). Place the post in the hole and use a level to ensure it’s perfectly plumb. Mix fast-setting concrete according to package directions and pour it around the base of the post, filling the hole to about 3 inches below ground level. Hold the post plumb until the concrete begins to set (typically 20–30 minutes for fast-set). Allow it to cure for at least 4 hours before putting load on it.
Step 4 — Connect the Wiring
Safety first: turn off power at the breaker before making any connections. Use a non-contact voltage tester to confirm the circuit is dead. Connect the fixture’s leads to your supply cable: black to black (hot), white to white (neutral), and green or bare copper to your ground wire. Use UL-listed wire connectors rated for outdoor use, and wrap each connection in self-fusing silicone tape for extra moisture protection. The PLUSLED outdoor post light is built with a fully weatherproof housing and ETL-listed components, so the fixture itself is ready for years of outdoor use once your connections are sealed properly.
Step 5 — Mount the Fixture and Test
Slide the PLUSLED column light head onto the post, thread in the mounting screws, and tighten until snug. Do not overtighten — you want a firm, weatherproof seal without cracking the fixture base. Now restore power at the breaker and flip the switch. Your new 13W, 3000K warm white post light should come on immediately and cast a beautiful, even glow. If it doesn’t, power down and double-check your wire connections. Once everything is working, backfill the trench with the excavated soil, tamping it down firmly as you go.
Spring Installation Pro Tips
- Check for underground utilities first. Call 811 (the US Dig Safe hotline) at least 3 business days before you dig — it’s free and legally required.
- Install a timer or smart switch. Program your post lights to turn on at dusk and off at midnight to save energy without sacrificing security.
- Use a GFCI breaker for all outdoor circuits. This is both a code requirement and an important safety measure for any hardwired outdoor fixture.
- Space fixtures symmetrically. For maximum curb appeal, measure carefully so each post is exactly the same distance from the driveway edge.
- Spring is ideal for concrete work. Temperatures above 50°F are perfect for concrete curing — another reason to tackle this project now rather than waiting until summer’s heat.
Why PLUSLED Outdoor Post Lights Are Built for This Project
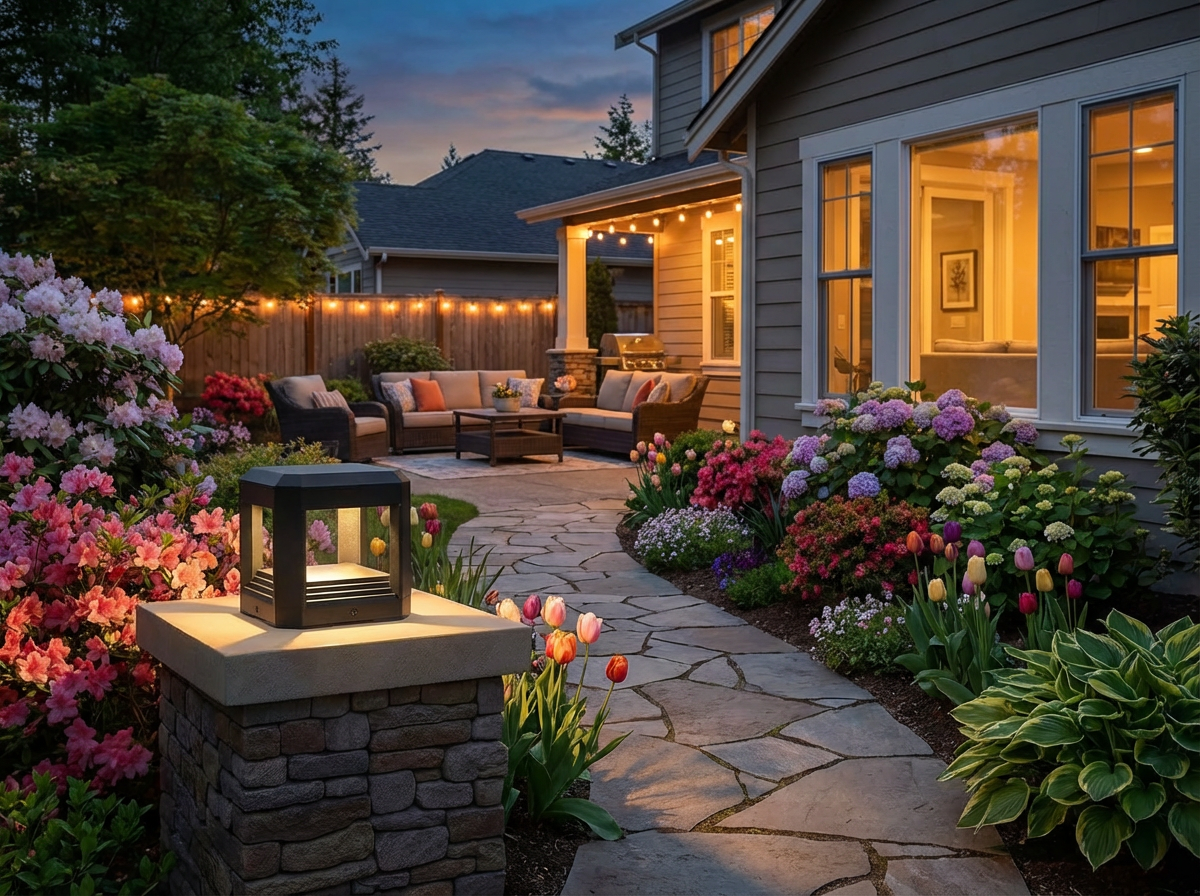
Not all outdoor post lights are created equal. The PLUSLED 13W Outdoor Column Post Light is specifically designed for hardwired 120V installations like this one. Key features that matter for DIY installs: the ETL listing means it has been independently tested and certified to US electrical safety standards; the 3000K warm white color temperature gives your home that inviting, high-end curb appeal lighting designers recommend; the IP65-rated weatherproof housing stands up to rain, humidity, and temperature swings from Minnesota winters to Florida summers; and at just 5.94 inches in diameter, the sleek modern profile fits a wide range of architectural styles without looking bulky. At $52.99, it’s an accessible upgrade that genuinely transforms the look of your driveway, garden path, deck, or fence line.
Spring 2026 is the perfect time to level up your home’s outdoor lighting. With a few basic tools, a free weekend afternoon, and this guide, you’ll have a professional-looking outdoor post light installation that adds security, safety, and serious curb appeal — just in time for the season’s family gatherings and outdoor entertaining. Shop the PLUSLED 13W Outdoor LED Column Post Light today and start your spring project right.