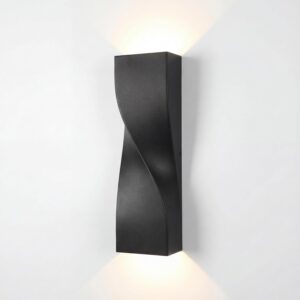
Late summer 2026 is the perfect window to finally tackle that outdoor lighting upgrade you’ve been putting off. The evenings are cooling down, Labor Day is around the corner, and every American front door, garage, and side entry is about to be photographed by family, neighbors, and guests pulling into the driveway. If your current wall fixture is a builder-grade dome that’s been yellowing for a decade, this is your weekend to fix it. This guide walks you through installing the PLUSLED 15.75″ Modern Outdoor Wall Sconce — a hardwired 20W up-down S-shape statement light — from start to finish in one afternoon, even if you’ve never touched an outdoor junction box before.
Below is the exact process a confident DIY homeowner can follow to swap out an existing exterior sconce, mount this oversized 15.75-inch fixture, and have it glowing on both sides of your front door before Labor Day guests arrive. No electrician required for a straight fixture replacement, no proprietary tools, and no guesswork.
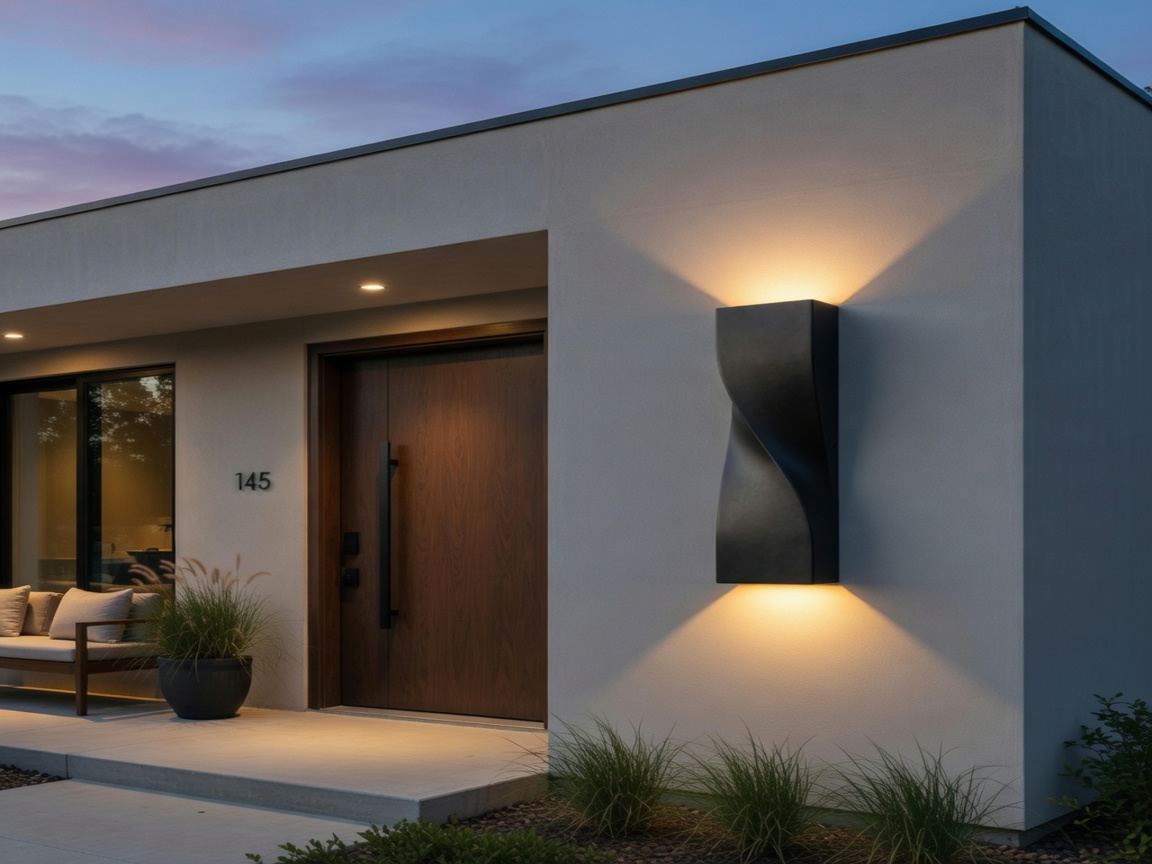
Why the 15.75″ S-Shape Sconce Deserves Its Own Install Guide
Most outdoor wall sconce install tutorials online assume you’re mounting a 10-inch fixture that weighs less than two pounds. This sconce is different. At 15.75 inches tall in a vertical S-shape silhouette, it’s built to be the architectural anchor of your entryway. That means three things during installation:
- You need to check that your existing wall box is centered where the new fixture will look proportional (usually 66–72″ from the porch floor to the vertical center of the fixture).
- The mounting bracket needs to sit dead-plumb — a 15.75-inch vertical fixture reveals even a 1° tilt to anyone standing on the driveway.
- Because it’s an up-down IP65 hardwired LED (not solar and not battery), you get consistent brightness every night, but you also want to seal it correctly the first time so the S-shape channel stays crisp for years.
Total time for a typical replacement install: 75–120 minutes, including cleanup and testing. Add 30 minutes if you’re mounting on stucco, brick, or fiber-cement lap siding for the first time.
Tools & Supplies to Have Ready Before You Start
- Non-contact voltage tester (mandatory)
- Phillips and flat-head screwdrivers
- Wire strippers and lineman’s pliers
- Three UL-listed twist-on wire connectors (usually included with the sconce)
- Clear exterior-grade silicone caulk
- Level (a 24″ torpedo level is ideal for a 15.75″ fixture)
- Pencil for marking
- Step ladder rated for outdoor use
- Optional: cordless drill with masonry bit if mounting into brick or stucco
Step 1: Kill the Power at the Breaker (Non-Negotiable)
Go to your main electrical panel and flip the breaker that controls the exterior sconce circuit. If your breakers aren’t labeled clearly (most late-summer DIYers discover this the hard way), turn on the existing outdoor light, then flip breakers one at a time until the light goes out. Leave a piece of painter’s tape on that breaker so nobody flips it back on while you’re working.
Once the breaker is off, walk back to the fixture, remove the shade or diffuser, and touch a non-contact voltage tester to each visible wire. Zero beeps, zero lights, zero voltage — only then do you touch anything. This step takes 90 seconds and prevents every serious accident that happens during outdoor lighting installs.
Step 2: Remove the Existing Fixture and Inspect the Wall Box
Unscrew the mounting plate of your old sconce and pull the fixture away from the wall by 3–4 inches so you can see the wiring. Before you disconnect anything, take a photo with your phone. This one habit has saved thousands of American homeowners a follow-up trip to the hardware store.
Loosen the wire nuts, separate the black (hot), white (neutral), and green or bare copper (ground) wires, and set the old fixture aside. Now inspect the wall box: it should be a weatherproof outdoor-rated box, ideally a round or octagonal metal box with a threaded stud in the center. If your existing box is cracked, plastic and brittle, or missing a ground screw, replace it before continuing — this is the single most-skipped step in DIY installs and the biggest predictor of moisture problems later.
Step 3: Install the PLUSLED Mounting Bracket
The 15.75″ S-Shape Wall Sconce ships with a universal mounting bracket that fits standard US 4-inch round and octagonal boxes. Slide the bracket over the threaded stud, orient it so the fixture will hang vertically, and finger-tighten the retaining nut. Put your torpedo level across the bracket — do not skip this. A vertical 15.75-inch fixture will telegraph any tilt from 25 feet away.
Once level, snug the bracket down. Now pre-thread the two long fixture screws into the bracket by two or three turns — this makes the next step dramatically easier when you’re supporting the fixture body with one hand.
Step 4: Wire the Fixture — Black to Black, White to White, Ground to Ground
Take the PLUSLED sconce out of the box. You’ll see three leads coming from the back of the fixture: black, white, and green (or bare copper). Match them to your house wiring:
- Fixture black → house black (hot)
- Fixture white → house white (neutral)
- Fixture green/bare → house green/bare (ground)
Strip about 5/8 inch of insulation from each wire if it’s not already prepared. Twist each pair together clockwise with lineman’s pliers so the two copper strands form a single tight bundle, then screw a UL-listed twist-on connector down onto the bundle until you can’t twist it further. Give each connection a firm tug — if a wire slides out, redo it. Loose connections are the number-one cause of flickering hardwired LEDs in year one.
Step 5: Tuck the Wires and Mount the Sconce Body
Gently fold the connected wires back into the wall box, keeping the ground wire on one side and hot/neutral on the other. Do not force wires — if the box feels crowded, use a deeper box or an extension ring rather than jamming everything in.
Now lift the 15.75″ sconce body up to the bracket and slot it over the two pre-threaded screws. Because this fixture is oversized, ask a helper to steady the bottom for 30 seconds while you finish tightening the top screws — or use painter’s tape to temporarily hold the bottom flush against the siding. Once both bracket screws are snug, add any decorative retaining nut or cap that shipped with the sconce.
Step 6: Seal the Top Edge, Not the Bottom
This is the step most YouTube tutorials get wrong. Run a thin bead of clear exterior-grade silicone caulk along the top and side edges of the fixture where it meets the siding. Leave the bottom edge unsealed. Water needs a way to drain if any moisture ever gets past the IP65 gasket during a Gulf Coast thunderstorm or a Midwest hailstorm — sealing the bottom traps water inside the housing and kills LED drivers within a year. This is a decades-old outdoor lighting rule that still applies to every hardwired sconce sold today.
Step 7: Flip the Breaker Back On and Test
Head back to the panel, flip the breaker on, and go outside. Toggle the wall switch. The PLUSLED 15.75″ up-down sconce should light both channels evenly — a warm white glow washing up the wall and another washing down toward your porch floor or driveway. If only one channel lights, or the fixture flickers, cut power at the breaker again and re-inspect the wire nuts. Ninety-five percent of first-install issues are a loose connector, not a defective fixture.
Step 8: Stand Across the Driveway and Judge the Result
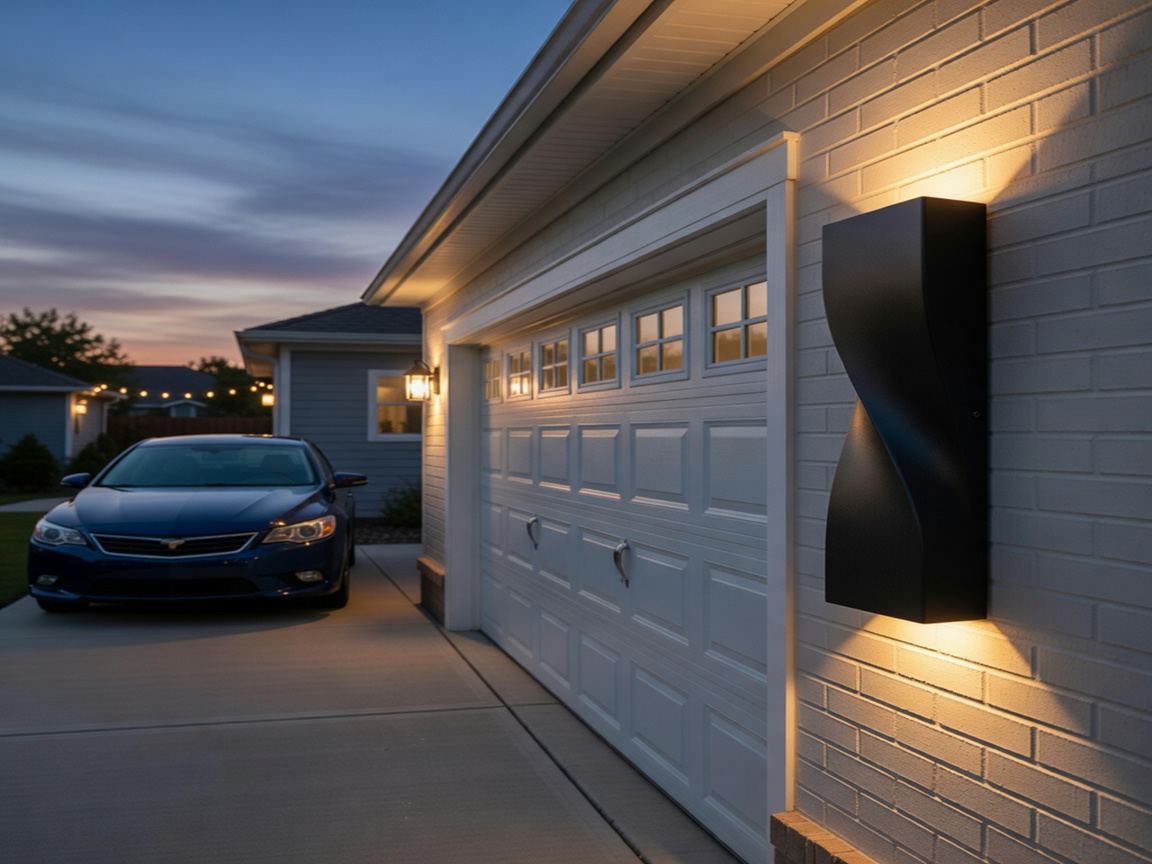
This is the fun step. Walk 25–30 feet from your front door, turn around, and look at the fixture in the last hour of daylight. The 15.75″ vertical S-shape should read as a clear architectural line beside the door — bold enough to be noticed, refined enough not to shout. If you’re installing a symmetric pair on either side of a double-car garage, this is where you’ll confirm they’re level with each other (a common late-summer 2026 curb-appeal trend Americans are chasing before Labor Day).
Common Late-Summer Install Questions
Can I install this in the rain?
No. Even though the finished fixture is IP65 waterproof, the exposed wiring during installation is not. Wait for a dry window — late-August evenings in most US regions offer 3–4 dry hours before the humidity peaks again.
Do I need a permit?
In most US jurisdictions, replacing an existing hardwired fixture with a new hardwired fixture at the same location does not require a permit. Adding a brand-new circuit or box location usually does. When in doubt, call your city or county building department — most will answer in one minute.
Can I put this on a smart switch or dusk-to-dawn sensor?
Yes. The PLUSLED 15.75″ sconce is a standard 120V hardwired 20W LED, so any name-brand Wi-Fi smart switch (Kasa, Lutron, Leviton, Meross) or in-line photocell will work. Many American homeowners pair this fixture with a dusk-to-dawn sensor so it comes on automatically when the sun drops below the horizon.
Wrap-Up: One Weekend, One Fixture, One Serious Upgrade
Installing the PLUSLED 15.75″ Modern Outdoor Wall Sconce is one of the highest-payoff DIY projects you can knock out before Labor Day 2026. You’re trading a builder-grade fixture for an oversized S-shape architectural statement, a 20W hardwired up-down LED that runs for years, and an IP65 finish that survives whatever late-summer weather your zip code throws at it. Total spend: under $60 for the fixture and a tube of caulk. Total payoff: every neighbor pulling into your driveway does a double-take.
Ready to install yours this weekend? Shop the PLUSLED 15.75″ Modern Outdoor Wall Sconce today and have it on your porch before Labor Day.