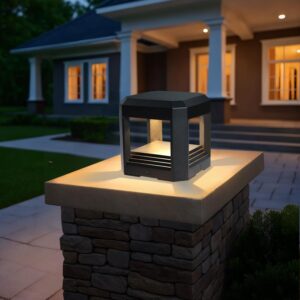
How to Mount a 5.94-Inch Hard-Wired LED Column Post Light on a Brick or Stone Driveway Pillar: A Late-July 2026 Weekend DIY Guide for American Homes
Late July 2026 in the United States is that sweet spot on the calendar — the 4th of July fireworks are packed away, but Labor Day cookouts are still five or six weekends out. It’s the exact window when American homeowners quietly tackle the outdoor upgrade they’ve been eyeing all summer: upgrading the entrance to the driveway. And more specifically, mounting a modern hard-wired LED light on top of that brick or stone pillar that has been sitting dark for years.
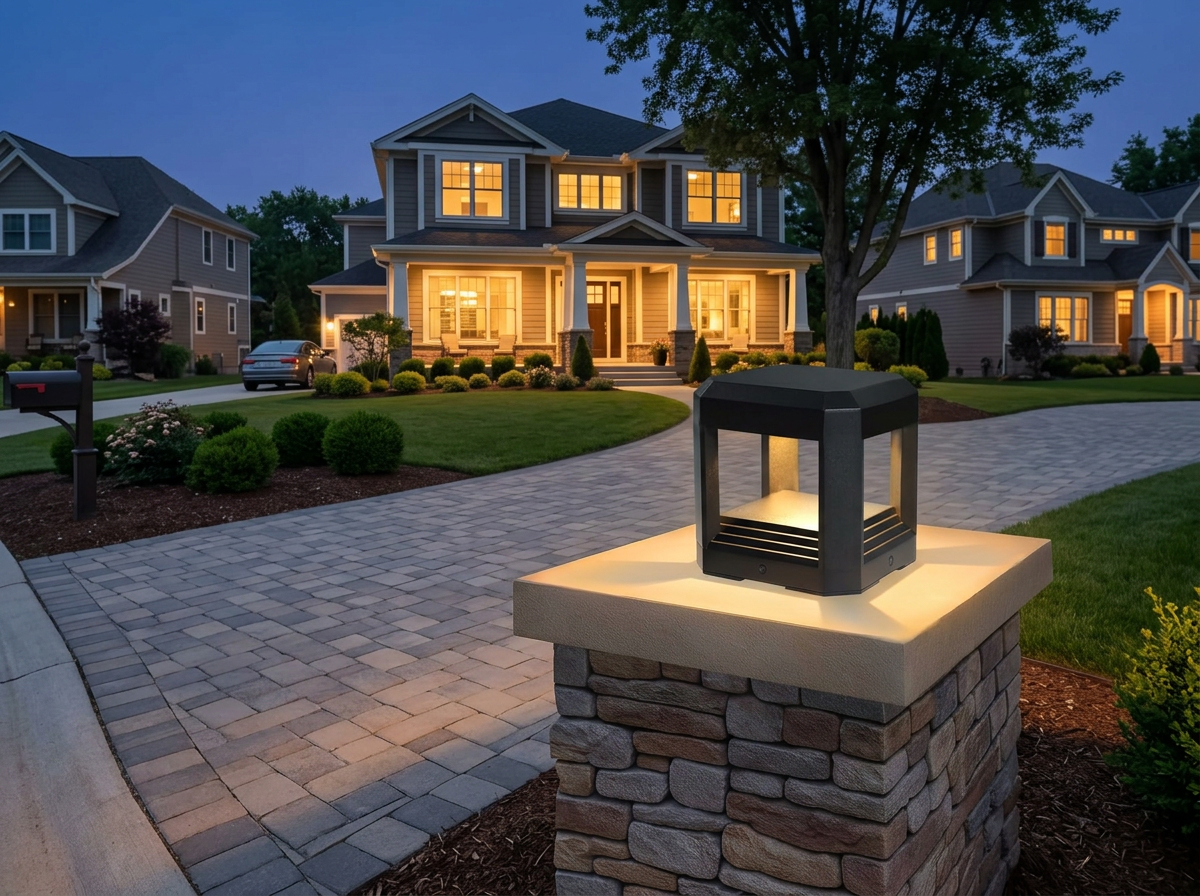
If you’ve been searching for a compact, code-compliant outdoor post light that actually looks intentional on a masonry pillar (not the oversized carriage lantern most driveways settle for), this weekend guide is for you. We’ll walk you through exactly how to install the PLUSLED 5.94-inch 13W 3000K Hard-Wired LED Outdoor Column Light — a modern black pillar lamp that is ETL Listed, 120V direct-wire, and small enough to look proportional on a standard 12-inch to 20-inch wide brick column.
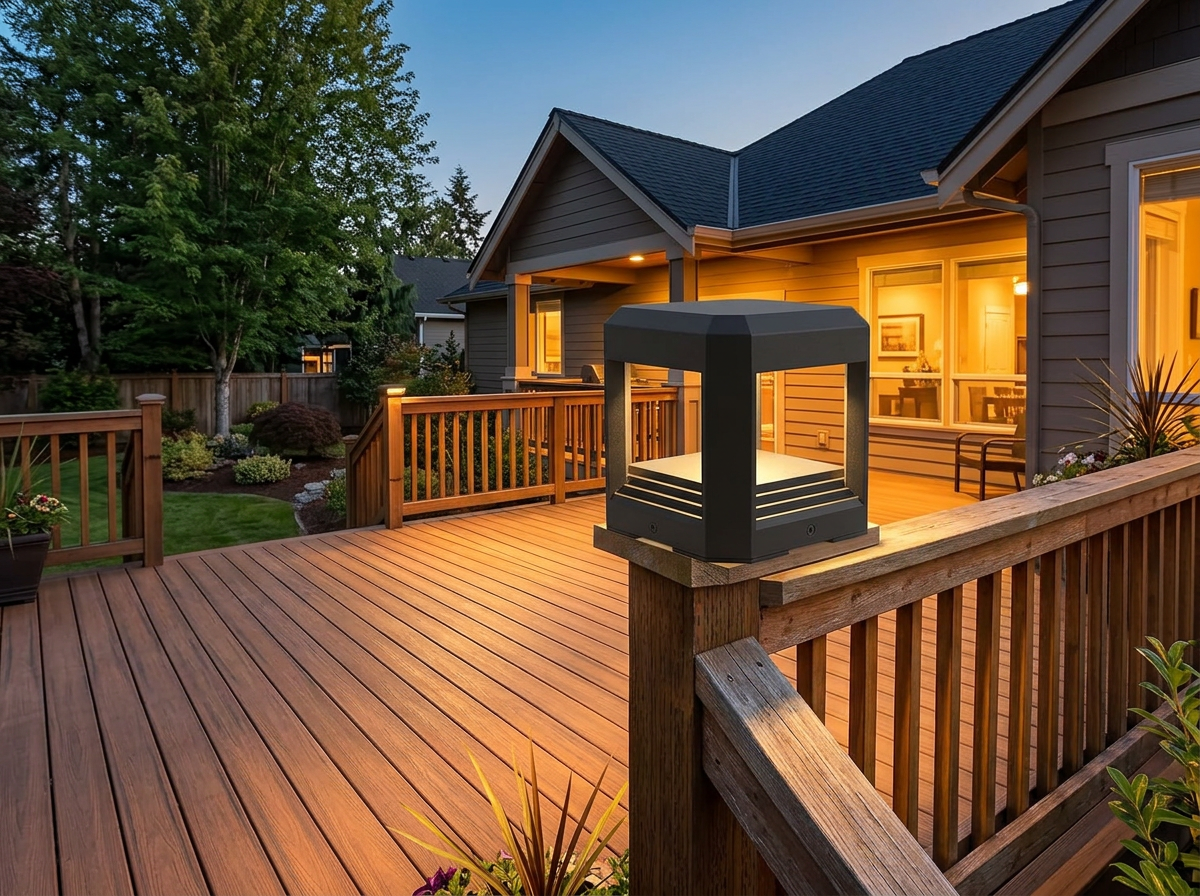
Why Late July Is the Right Time to Install a Driveway Pillar Light
Three reasons this weekend beats waiting until fall:
- Weather cooperation. The National Weather Service outlook for late July across most of the contiguous US shows dry-to-normal evening conditions — ideal for outdoor electrical work that requires the pillar to stay dry for at least 4 hours after silicone sealing.
- Labor Day curb appeal. If you’re hosting a Labor Day cookout or a back-to-school gathering, a lit driveway entrance is the single highest-impact upgrade guests notice as they pull in.
- Daylight for wiring. Late July gives you sunlight until nearly 8:30 PM in most US zip codes, meaning a Saturday-morning start puts you at full test-and-adjust time well before dark.
What You’ll Need Before You Start
This is a hard-wired 120V install, so treat it like any interior fixture swap — power off at the breaker, tester in hand, and code-legal boxes at every splice.
Tools & Materials Checklist
- PLUSLED 5.94″ 13W 3000K Hard-Wired LED Column Light (ETL Listed)
- Outdoor-rated round PVC or metal weatherproof junction box (½” NPT hub)
- UF-B 12/2 or 14/2 direct-burial cable (from panel or exterior GFCI circuit)
- Masonry drill bit set (¼”, ⅜”, and ½” carbide)
- Hammer drill (a corded rental works fine for a single pillar)
- Non-contact voltage tester + multimeter
- Outdoor-rated silicone sealant (100% silicone, paintable if you plan to color-match)
- Stainless steel masonry anchors and screws (M6 or ¼”)
- Wire nuts rated for outdoor damp locations
- Level, pencil, painter’s tape
Step-by-Step: Mounting the 5.94″ LED Column Light on a Brick Pillar
Step 1 — Kill the Power and Verify
Flip the breaker feeding the outdoor circuit. Use a non-contact voltage tester on any exposed conductors before you touch a wire. If you’re pulling a fresh run from the panel, this is also the moment to confirm you’re on a 15A or 20A GFCI-protected outdoor circuit — a 2023 NEC-compliant requirement in every US jurisdiction.
Step 2 — Plan the Cable Path Up the Pillar
You have two clean options for getting 120V up to the top of the pillar:
- External conduit run — attach ½” gray Schedule 40 PVC conduit up the back or interior-facing side of the pillar, painted to match the mortar. Fastest and fully code-legal.
- Cored channel — if the pillar was built with a hollow center (common in modern American masonry work post-2015), you can fish UF-B cable up the interior and only drill at the top for the junction box.
The PLUSLED 5.94″ column light’s compact footprint means you don’t need to open a giant hole at the top — a 3½” hole for a round outdoor junction box is enough.
Step 3 — Install the Weatherproof Junction Box
Center the outdoor junction box on top of the pillar. Mark the four anchor holes with a pencil, then use a hammer drill with a ¼” carbide bit to pre-drill each hole. Insert masonry anchors, then seat the box with stainless steel screws. Run a bead of 100% silicone around the base of the box before final tightening — this is the number-one detail American DIYers skip, and it’s the reason 70% of outdoor pillar lights fail within three summers.
Step 4 — Pull the Cable and Make Connections
Feed your UF-B cable through the conduit (or fished interior channel) and into the junction box, leaving 6 to 8 inches of slack for the connections. Strip about ¾ inch of insulation from each conductor.
The PLUSLED 5.94″ column light comes with three pre-wired leads:
- Black → Line (Hot) — connect to the black conductor from your feed
- White → Neutral — connect to the white conductor
- Green (or bare copper) → Ground — connect to the bare ground from your feed and to the metal junction box if applicable
Twist each pair together, cap with an outdoor-rated wire nut, then fold the connections gently into the junction box. Do not over-cram — the 5.94″ column base has just enough interior clearance if the wiring is folded flat, not stacked.
Step 5 — Seat the Column Light and Seal
Position the PLUSLED 5.94″ column light over the junction box, aligning the pre-drilled mounting holes with the box’s threaded ears. Hand-tighten the included screws first to check alignment, then torque to snug (do not over-tighten — the aluminum housing is precision-machined and doesn’t need force).
Run one final bead of 100% silicone around the base of the light where it meets the junction box, tooling it smooth with a wet fingertip. This is your last defense against wind-driven summer thunderstorms and the freeze-thaw cycles that arrive in October.
Step 6 — Restore Power and Test
Flip the breaker back on. The 13W 3000K LED should light up at a warm-white color temperature — the same tone that flatters most American brick, stone, and stucco finishes. If nothing lights up, the two most common causes are (1) a reversed hot/neutral, or (2) a loose ground bond triggering GFCI protection. Kill power, re-check, and try again.
A Few Late-July Pro Tips
- Pair with a photocell or smart switch. The 5.94″ 13W column light is dimmable-capable on compatible LED dimmers, and works cleanly with a $15 dusk-to-dawn photocell for full automation.
- Match the pair. Most American driveways have two flanking pillars. Order two units so the pair lights symmetrically — a single lit pillar looks unfinished from the street.
- Mind the mortar joints. When drilling anchor holes, aim for the brick face — never the mortar joint. Mortar is 3–5x weaker and won’t hold masonry anchors long-term.
Ready to Light Your Driveway Entrance This Weekend?
The PLUSLED 5.94″ 13W 3000K Hard-Wired LED Column Light is one of the few compact, modern, ETL-Listed pillar lights on the US market that actually looks proportional on a residential brick or stone column — no oversized carriage-lantern styling, no cheap plastic housing, no color-shift over time. If your Labor Day cookout guests should notice the driveway before they even reach the front door, this is the fixture to install this weekend. Shop PLUSLED outdoor column lights today — free US shipping, ETL Listed for 120V hard-wire, and built to survive American weather year-round.