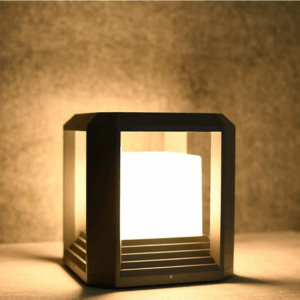
How to Install a 9.88″ PLUSLED 20W Modern Black Outdoor Post Light on Your Wooden Deck or Fence: A Complete Summer 2026 DIY Walkthrough
Between the July 4th weekend and Labor Day, American homeowners spend more hours on their decks, patios, and backyards than at any other time of the year. And nothing kills the vibe of a summer 2026 backyard BBQ faster than a dark, unlit fence line or a driveway column that fades into shadow the moment the sun drops behind the neighbor’s roof. That’s exactly the problem the 9.88″ PLUSLED 20W Modern Black Outdoor Post Light — a hardwired, ETL-certified LED pillar lantern with a flat sealed base plate — was built to solve.
This step-by-step summer 2026 installation guide walks you through mounting a PLUSLED outdoor post light on a wooden deck cap, fence post, or garden column — from tool prep to final wire connection — so you can flip the switch on a properly lit backyard before your next weekend cookout. No electrician required for most retrofit setups, and the whole project fits inside a Saturday afternoon.
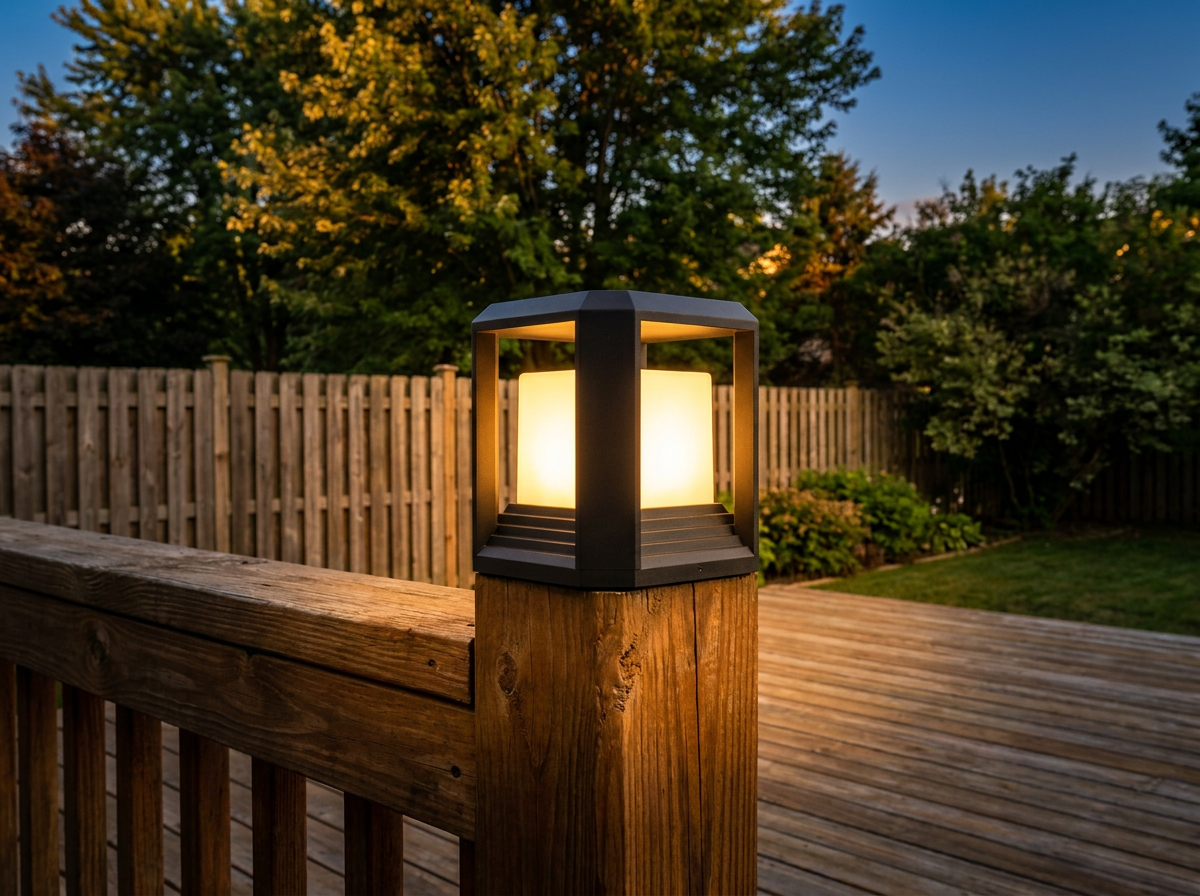
Why the 9.88″ Modern Black Post Lantern Is the Right Fixture for Wood
Before you unbox anything, it’s worth understanding why this particular fixture is a fit for wooden decks, cedar fences, and pressure-treated columns. Most solar post caps overheat wood mounting surfaces and lose brightness after two seasons. Traditional 60W halogen lanterns run hot, drain electricity, and often carry a footprint that doesn’t seal cleanly against a 4×4 or 6×6 post.
The PLUSLED 9.88″ modern black outdoor post light avoids all three problems: 20W of true LED output (equivalent to about 120W incandescent), a warm 3000K color temperature that flatters wood grain, IP65 waterproofing for the humid American summer, and a flat sealed base plate that keeps rainwater out of the mounting hole. ETL certification means it’s rated for direct hardwired 110–120V AC — the same circuit your existing porch light already runs on.
Tools & Materials You’ll Need Before You Start
- Cordless drill with 1/8″ pilot bit and 3/4″ spade or auger bit
- Phillips screwdriver
- Wire strippers and lineman’s pliers
- Weatherproof wire nuts (yellow or red, rated for outdoor use)
- Silicone caulk (clear, exterior-grade)
- Level (a 6″ torpedo level is plenty)
- Voltage tester (non-contact — don’t skip this)
- The PLUSLED 9.88″ post light itself, plus the four included mounting screws
If you’re running new wire from scratch, you’ll also want 14/2 UF-B outdoor-rated cable and a weatherproof junction box. For most summer 2026 retrofits — replacing an existing post cap or column lantern — you’ll simply reuse the wiring that’s already there.
Step 1 — Kill the Power at the Breaker (Non-Negotiable)
Head to your breaker panel and flip the circuit that feeds your existing exterior lighting. Return to the mounting spot with your non-contact voltage tester and confirm the wires read zero. Every summer, US emergency rooms see spikes in electrical injuries tied to DIY porch and post light projects — 30 seconds at the breaker is the cheapest insurance you’ll ever buy.
Step 2 — Mark and Drill the Mounting Post
Center the PLUSLED base plate on the top of your 4×4, 6×6, or fence cap post. Use a pencil to mark the four screw holes and the center wire pass-through. If you’re installing on a wooden deck rail cap, aim for the geometric center so the lantern looks intentional from the yard.
Drill 1/8″ pilot holes at each of the four screw marks to prevent the wood from splitting — critical on older, drier cedar and pressure-treated posts. Then swap to the 3/4″ spade bit and drill straight down through the center mark deep enough to meet a side-exit hole you’ll drill next. On a solid column, drill from the back or side of the post at a slight upward angle so it meets the vertical hole in the middle. This is your wire chase.
Step 3 — Run and Feed the Wire
If you’re retrofitting, your existing wire is already at the top of the post — just make sure it has at least 6″ of slack to work with. If you’re running new cable, feed the 14/2 UF-B from the exterior junction box up through the side hole and out through the top of the post using a fish tape or a stiff pull wire. Strip 3/4″ of insulation off the black (hot), white (neutral), and green or bare copper (ground) conductors.
Step 4 — Connect the PLUSLED Fixture
Open the base plate of the PLUSLED 9.88″ lantern and you’ll find three pigtail leads: black, white, and green (ground). Match them to your house wiring — black to black, white to white, green to ground — twist each pair together clockwise, and cap them with weatherproof wire nuts. Give each connection a firm tug to make sure nothing pulls loose. Neat, tight connections are what separate a lantern that lasts 25,000 hours from one that flickers by Labor Day.
Step 5 — Seal, Mount, and Level
Before you set the fixture down, run a thin bead of clear exterior silicone caulk around the top edge of the wire hole. This is what keeps summer thunderstorms out of your post interior. Gently tuck the wire connections into the post cavity, seat the PLUSLED base plate flat on the post, and drive the four included stainless-steel screws through the pilot holes. Don’t overtighten — you want the base snug and sealed, not crushing the gasket.
Set your torpedo level on top of the lantern housing and confirm it reads plumb in both directions. A crooked post light is the one thing your neighbors will notice from the sidewalk. Adjust before the caulk cures.
Step 6 — Restore Power and Test
Head back to the breaker panel and flip the circuit back on. Return to the fixture and switch on your porch or landscape control. The PLUSLED 3000K LED should light up instantly with that warm, welcoming glow that reads as high-end American craftsman without any of the yellow tint of old halogens. Let it run for 10 minutes and check that the housing stays cool to the touch — a hallmark of the 20W LED design.
Summer 2026 Placement Tips: Deck, Fence, Garden
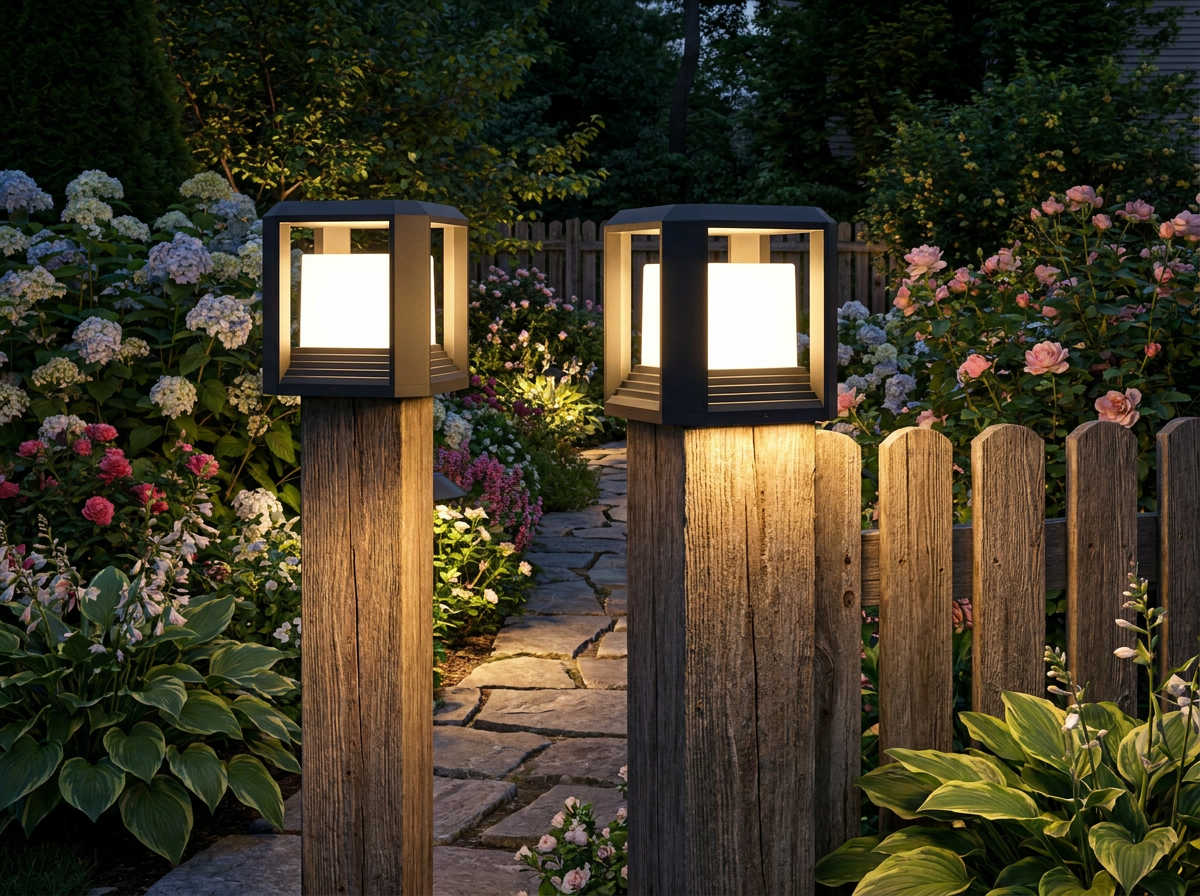
Once you’ve done one, the second and third go twice as fast. For decks, space PLUSLED post lights every 6–8 feet along the rail perimeter for even, ankle-safe illumination during evening BBQs. For garden fences, alternate every other post to keep the fixture cost reasonable while still hitting a rhythm that reads intentional from across the yard. For driveway columns, one fixture per pillar is the classic American look — and the 9.88″ scale is proportioned exactly for standard 12″–14″ column caps.
Troubleshooting: If Something’s Off
If the fixture doesn’t light, 90% of the time it’s a wire nut that didn’t seat fully — kill the breaker, reopen, and re-twist. If it flickers, check that black went to black (not white). If moisture appears inside the lens after the first rain, your caulk bead had a gap; pull the base, re-caulk, and remount. The PLUSLED IP65 rating handles standing rain, but only if the entry point is sealed.
Ready to Light Up Your Backyard Before Labor Day?
With one Saturday, a cordless drill, and the PLUSLED 9.88″ 20W modern black outdoor post light, you can transform a dark deck, fence, or driveway column into the warmest corner of your summer 2026 backyard. ETL-certified, IP65 waterproof, 3000K warm white, and priced for the whole perimeter — this is the post light American homeowners are choosing between now and Labor Day to make their outdoor spaces genuinely usable after sunset.