
How to Install a 9.88″ Hardwired LED Pillar Post Light on a Driveway Brick Column Before the July 4th 2026 Cookout: A One-Afternoon DIY Walkthrough
It’s mid-June 2026, the long Independence Day weekend is two weeks out, and most American homeowners are about to host at least one backyard cookout. The question every host is quietly asking: how do I make my driveway and entryway look as good after dark as it does at noon? The answer most are landing on this summer is a 9.88″ oversized hardwired LED pillar post light — the kind you can mount on a brick or stone column at the driveway entrance. Warm 3000K light, only 20 watts, and a flat suburban driveway suddenly feels like an arrival.
This guide walks you through installing one yourself in a single Saturday afternoon. We’ll use the PLUSLED 9.88″ 20W Outdoor Column Post Light as our example fixture: hardwired, ETL-listed, IP65 waterproof, and built for fence pillars, deck columns, and driveway brick posts. By the time you’re back inside for iced tea, the lights will be up and ready for July 4th.
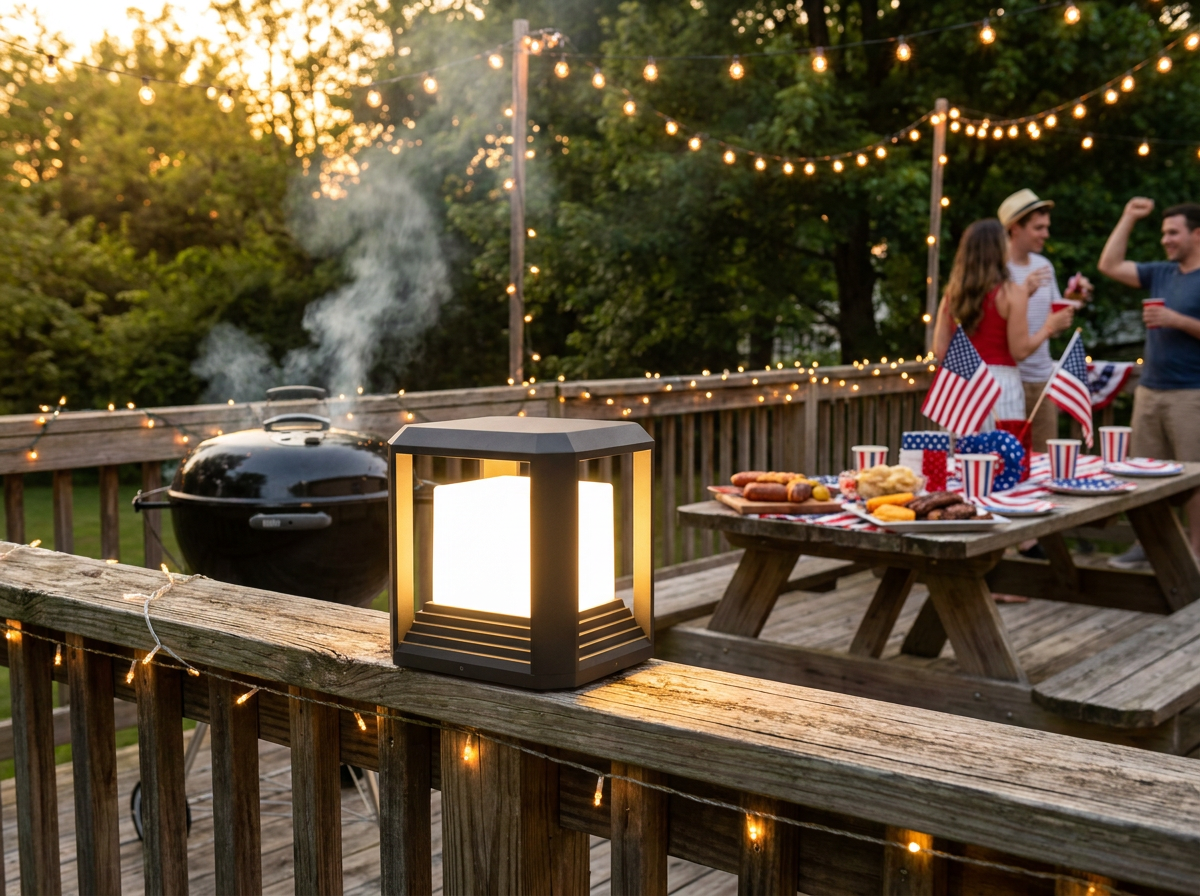
Why the 9.88″ Pillar Post Light Is the Right Pick for a Driveway Column
American suburban driveways typically have brick or stone columns flanking the entrance — usually 18″ to 24″ wide on top. A standard 5″ to 6″ post light gets visually swallowed on a column that big. The 9.88″ housing fills the cap properly and reads as intentional architecture. At 20 watts of LED output (roughly 1,800 lumens) it’s also bright enough to actually light the whole entry, not just glow decoratively. The 3000K warm-white color pairs well with American flag bunting, brick, and painted shutters — cool white (5000K and up) reads clinical and clashes with patriotic palettes.
Tools and Materials You’ll Need
- PLUSLED 9.88″ 20W Outdoor Column Post Light (one per column)
- Cordless drill with a 1/4″ masonry bit and a Phillips bit
- Four 1/4″ × 2″ concrete or brick anchors per fixture
- Wire nuts (orange or yellow)
- Outdoor-rated electrical tape
- Voltage tester (non-contact pen-style is fine)
- Phillips screwdriver
- A small level (4″ torpedo level works great)
- Pencil for marking
- Outdoor silicone caulk (clear or matching column color)
If your column doesn’t already have an electrical supply at the top, you’ll also want a low-voltage transformer or a licensed electrician to run a 120V line — more on that in a moment.
Step 1: Cut the Power at the Breaker
This is non-negotiable. Walk to your electrical panel and shut off the breaker that controls your outdoor circuit. If your column doesn’t already have wiring, pause the project and bring in a licensed electrician for the line run. For an existing supply, use your voltage tester on the wires at the column cap to confirm zero volts before touching anything.
Step 2: Mark the Mounting Holes on the Column Cap
Open the box and pull out the base flange — a square mounting plate with four anchor holes and a center wire pass-through. Center the flange on the column cap so the pass-through aligns with your supply. Mark all four anchor holes onto the brick with a pencil, then double-check the marks are square with your level. Crooked is permanent on brick.
Step 3: Drill the Anchors
Switch to the masonry bit and drill each hole about 2 1/4″ deep — slightly deeper than the anchor so debris has somewhere to go. Tap the four 1/4″ concrete anchors flush with the brick face. If a brick chips badly, shift the flange a half-inch and re-mark — better to redo a hole than crack a column.
Step 4: Wire the Fixture
Pull your supply wires up through the center hole in the flange. The PLUSLED 9.88″ post light has three pre-stripped leads: black (line), white (neutral), and green (ground). Match black-to-black, white-to-white, and green-to-the-bare-copper-ground-wire from your supply. Twist each pair clockwise into a wire nut, give it a firm tug to confirm it’s tight, and wrap the base of each nut with a half-turn of electrical tape for outdoor reliability. Tuck the joined wires neatly back into the column cavity so nothing is pinched when you mount the flange.
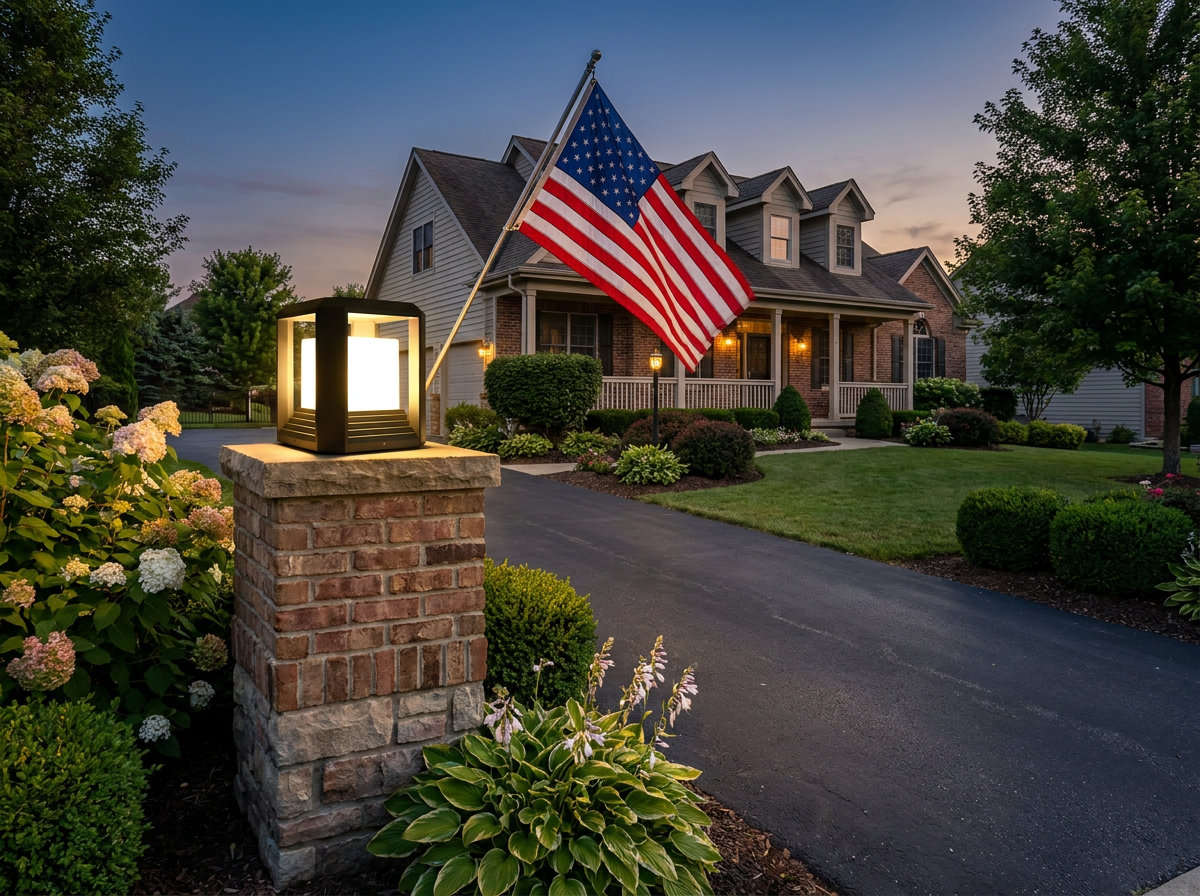
Step 5: Mount the Flange and the Lantern Body
Set the flange over the four anchors and drive the included stainless screws in evenly — corner-to-corner, not one side at a time, so the plate seats flat against the brick. Once the flange is locked down, lift the lantern body onto the flange (it slides over four threaded posts) and hand-tighten the included acorn cap nuts. Snug, not gorilla-tight — these are weatherproofed gaskets, and over-cranking compresses them unevenly.
Step 6: Caulk the Base for Weatherproofing
Run a thin bead of clear outdoor silicone around the bottom edge of the flange where it meets the brick. The fixture is IP65 on its own, but the brick-flange joint is the spot where wind-driven summer thunderstorms find a way in. A two-minute caulk pass adds a decade of life to the install. Smooth the bead with a wet fingertip and walk away — it’ll skin over in twenty minutes.
Step 7: Restore Power and Test
Walk back to the panel, flip the breaker, and head to the driveway. The PLUSLED 9.88″ pillar light should fire instantly with that warm 3000K glow. If it doesn’t, kill the breaker again and re-check your wire-nut connections — 9 times out of 10 it’s a loose neutral. Once you’ve got both columns lit, step back to the curb and look at your house from the street. That’s the view your guests will see when they pull up for the cookout.
A Few Pro Tips Before July 4th
- Add a dusk-to-dawn sensor. A $15 photocell inline with the supply line saves you from leaving the lights on all day after the cookout winds down.
- Aim for symmetry. Most American driveway entries have two columns. Install both lights at the same height — measure from the column cap, not the ground, since older columns aren’t always level.
- Pair with low-voltage path lights. The 9.88″ pillar light handles the entrance; smaller path lights along the driveway turn the whole approach into a runway. Layered lighting is what separates a $200 driveway upgrade from a $2,000-curb-appeal jump.
- Skip the smart bulb upgrade. The PLUSLED unit is integrated LED — there’s no socket and no replaceable bulb. That’s the trade-off for the 50,000-hour rated life.
Ready to Light Up Your Driveway Before the Cookout?
Two weeks is plenty of runway to get a pair of these on your driveway columns and have them dialed in before the first burger hits the grill. The PLUSLED 9.88″ 20W Outdoor Column Post Light ships fast, comes ETL-certified for US 120V, and looks at home on brick, stone, or wood-clad columns. Order today, install Saturday, and have the best-looking driveway in the neighborhood by the 4th.