How to Install a Modern Up-Down Outdoor Wall Sconce in 90 Minutes: A Memorial Day 2026 DIY Guide for American Homeowners
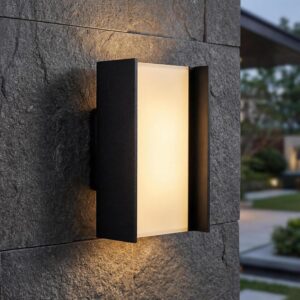
With Memorial Day weekend just around the corner, late spring 2026 is the perfect window to refresh your home’s exterior before the summer entertaining season kicks off. One of the highest-impact, lowest-cost upgrades you can knock out in a single Saturday afternoon? Swapping a tired old porch fixture for a sleek modern up-down outdoor wall sconce. The PLUSLED 20W Matte Black Up-Down LED Wall Sconce is built for exactly this kind of weekend DIY project — wet-rated aluminum, 3000K warm white LEDs, and a clean rectangular silhouette that pairs with farmhouse, modern, and transitional American homes alike.
This step-by-step installation guide walks you through the entire process — from shutting off the breaker to flipping the switch on a beautifully lit front door. No electrician required for most homeowners replacing an existing fixture, and the whole job typically takes about 60–90 minutes.
Before You Start: Tools, Safety & What’s in the Box
Installing an outdoor wall sconce is one of the most beginner-friendly electrical projects a homeowner can tackle, but it does involve 120V wiring. Take an extra ten minutes to gather everything before you climb the ladder — you’ll thank yourself later.
Tools you’ll need
- Phillips and flathead screwdrivers
- Non-contact voltage tester (a $15 item that could save your life)
- Wire strippers and a small pair of needle-nose pliers
- Step ladder rated for your height
- Silicone caulk (clear or paintable, exterior-grade) to seal around the mounting plate
- A pencil and tape measure
What’s in the PLUSLED 20W Up-Down Sconce box
- 1 × matte black aluminum up-down wall sconce (15.75″ tall)
- 1 × universal mounting plate that fits standard US round and octagonal junction boxes
- Pre-wired connectors and mounting hardware
- Quick-start instruction sheet
Because the fixture is integrated LED with a built-in 3000K warm white driver, there are no bulbs to install — one less step than the old-school sconce you’re probably replacing.
Step 1: Cut Power at the Breaker (and Verify Twice)
Find the breaker that controls your existing porch or garage light and flip it to OFF. Flip the wall switch to the on position so it would normally light the bulb. Then use your non-contact voltage tester on the existing fixture wires before touching anything. If the tester stays silent, you’re safe to proceed. If it beeps, go find the right breaker — never assume.
Step 2: Remove the Old Fixture
Most older porch lights are held on with two cap nuts on a center stem or two side screws on a mounting bracket. Unscrew them, gently pull the fixture away from the wall, and you’ll expose the junction box and three wires: black (hot), white (neutral), and bare or green (ground). Take a quick phone photo before disconnecting — it makes Step 4 much easier.
Unscrew the wire nuts, separate the wires, and set the old fixture aside. If the existing junction box is rusted, cracked, or pulled away from the siding, replace it with a new weatherproof “old-work” box before continuing. This is also the perfect moment to clean any dirt, old caulk, or insect nests off the wall.
Step 3: Mount the PLUSLED Bracket
Attach the universal mounting plate from the PLUSLED kit to your junction box using the included green-tipped grounding screws. The plate is symmetrical, so you can orient the wall sconce vertically (recommended) or rotate the design horizontally if your wall layout calls for it.
Pro tip from Schoolhouse’s outdoor lighting guide: when mounting beside an entry door, leave at least 6 inches of clearance from the top of the door frame to the bottom of the fixture, and aim for a fixture height roughly one-quarter of the door height. The PLUSLED 15.75″ silhouette hits that visual sweet spot for standard 80″ American front doors.
Step 4: Connect the Wires
This is the part everyone worries about — but it’s just three connections. Match like to like:
- Black to black (hot to hot)
- White to white (neutral to neutral)
- Bare copper or green to the ground screw on the mounting plate
Twist each pair clockwise, cap with a wire nut, and give a gentle tug to confirm the connection is solid. Tuck the wires neatly back into the junction box so they don’t get pinched when you mount the fixture.
Step 5: Attach the Fixture and Seal It
Carefully press the PLUSLED sconce against the mounting plate and tighten the two decorative cap screws by hand until snug — don’t over-torque, or you risk cracking the aluminum housing. The sconce should sit flush against the wall with no gaps along the edges.
Now run a thin bead of exterior-grade silicone caulk along the top and side edges of the mounting plate where it meets the wall. Leave the bottom edge un-caulked so any moisture that does sneak in has a way to drain out. This is exactly how the pros at The Build Show seal exterior fixtures, and it’s what keeps your wall and wiring dry through summer thunderstorms and winter snow alike.
Step 6: Power Up and Aim the Beams
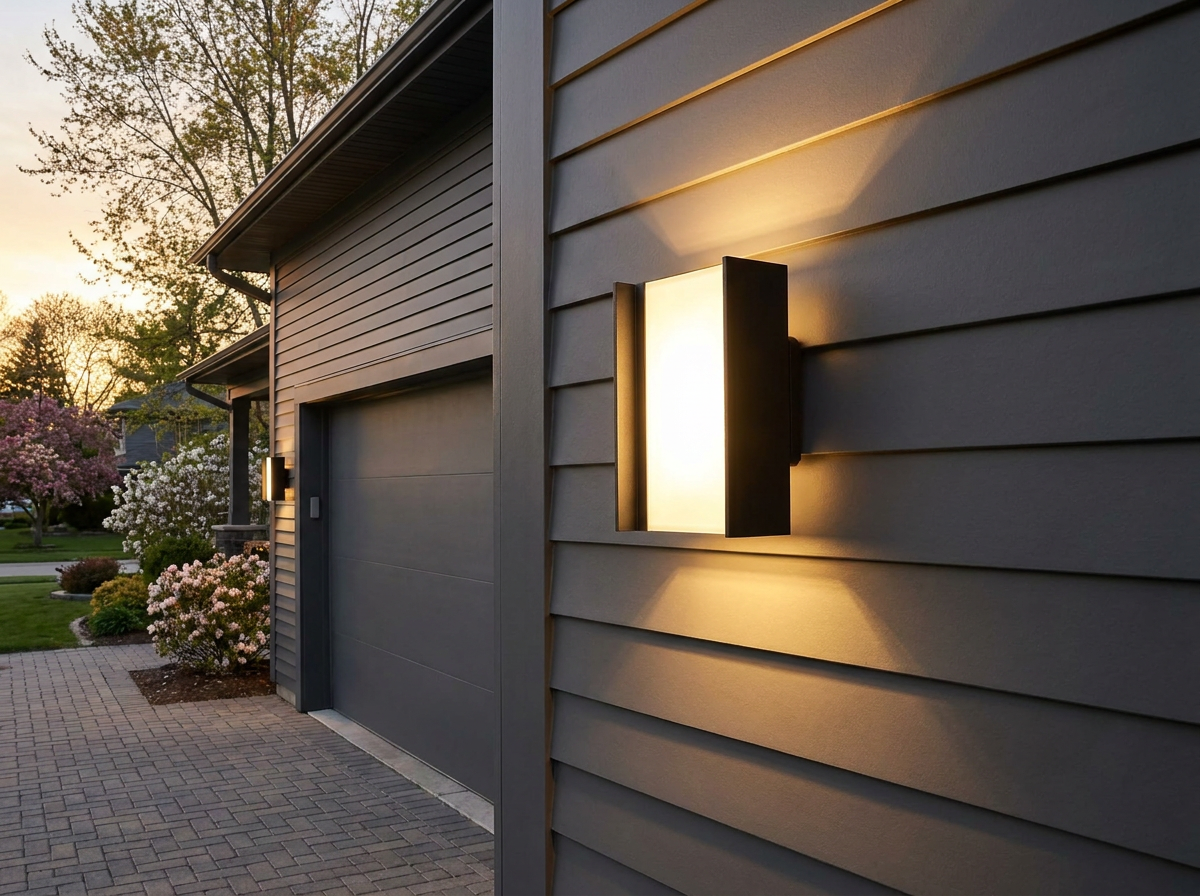
Flip the breaker back ON, then test the wall switch. The PLUSLED’s integrated up-and-down LED arrays should fire instantly with that signature warm 3000K glow — bright enough to light a path, soft enough to feel welcoming on a Memorial Day cookout evening.
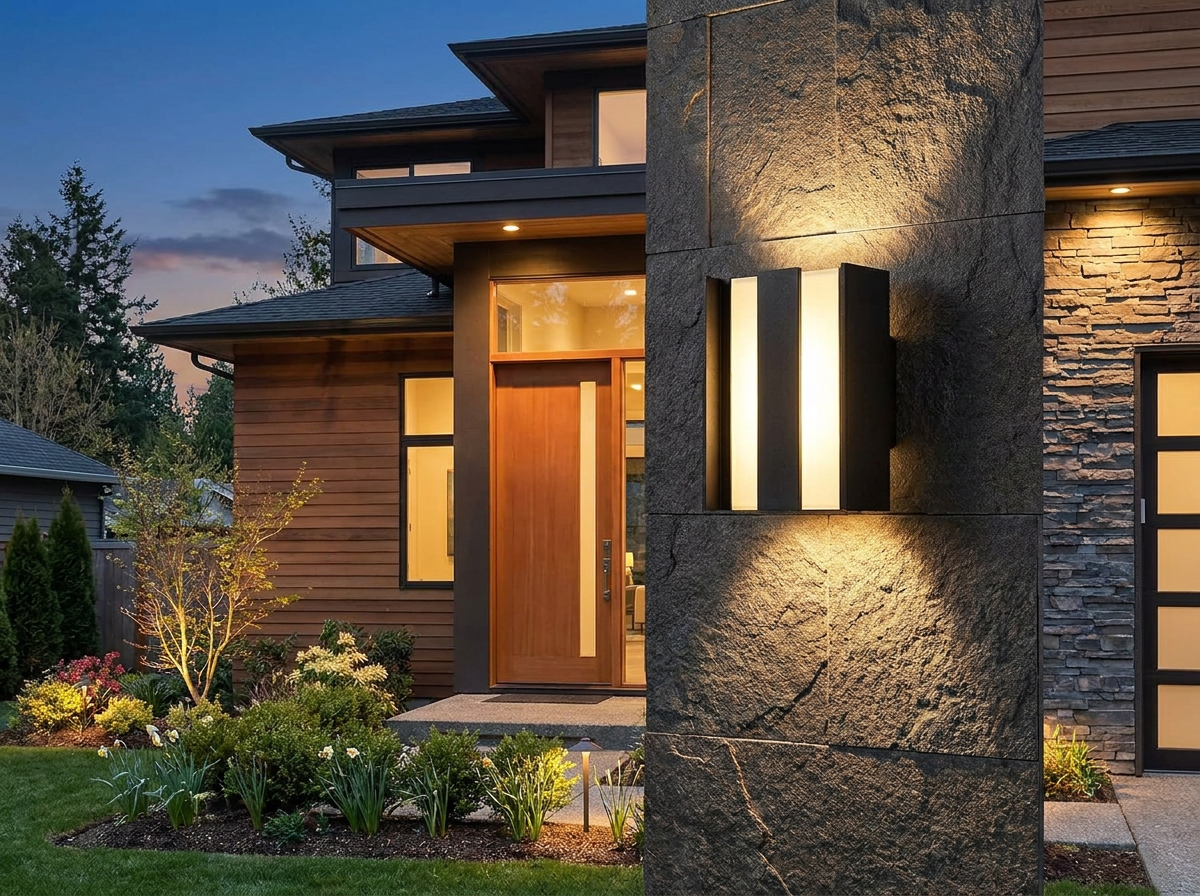
Take a few steps back and admire the dual beams washing the wall above and below the fixture. This up-down architectural effect is the look that’s exploding on American home improvement TikTok this spring 2026 — clean, modern, and dramatically more upscale than the dome-shaped fixture you just retired.
Common Installation Questions
Do I need to call an electrician?
If you’re replacing an existing exterior wall sconce, the wiring is already done — most homeowners can finish the job confidently. If you’re adding a brand-new circuit, running new cable through siding, or your house has aluminum branch wiring, hire a licensed electrician.
Is the PLUSLED sconce dimmable?
The 20W integrated LED driver is wired for standard on/off operation with most US wall switches. Pair it with a smart Wi-Fi switch (Lutron Caseta, Kasa, or Leviton) for scheduling, dawn-to-dusk automation, or app control during summer travel.
Will it hold up to American weather?
Yes. The matte black powder-coated aluminum housing is wet-rated and engineered for direct exposure to rain, snow, salt air, and the punishing UV of southern summers. Wipe it down twice a year and it will look factory-fresh through 2030 and beyond.
Ready to Light Up Memorial Day Weekend?
A modern up-down outdoor wall sconce is the kind of upgrade that pays you back every single evening — sharper curb appeal, safer pathways for guests, and the kind of architectural lighting that makes neighbors do a double-take. Spend a Saturday morning with this guide, and your front door will be ready to welcome friends, family, and the whole grilling-season crew before the long weekend rolls in.
Shop the PLUSLED 20W Matte Black Up-Down Outdoor Wall Sconce today and have it on your wall before Memorial Day 2026. Free shipping across the US, and a 5-year manufacturer warranty backs every fixture.