Spring is finally here — and for American homeowners, that means one thing: it’s time to tackle the outdoor projects you’ve been putting off all winter. Whether you’re sprucing up your driveway for Easter gatherings, preparing your garden path for Mother’s Day visitors, or simply refreshing your home’s curb appeal before the busy summer season, installing an outdoor post light is one of the highest-impact improvements you can make. In this step-by-step guide, we’ll walk you through exactly how to install a modern outdoor post light — using the PLUSLED Outdoor Post Light as our featured fixture — so you can get it done right the first time.
Why Spring Is the Best Time to Install an Outdoor Post Light
Spring home improvement season is in full swing across the US. Mild temperatures make outdoor electrical work comfortable, freshly thawed ground is easier to dig, and the longer daylight hours mean more time to complete your project before dark. Plus, with Easter and Mother’s Day just around the corner, a newly illuminated driveway or garden path makes a great first impression on guests. Installing a post light now means you’ll enjoy it all spring and summer long.
What You’ll Need: Tools & Materials
Before you begin, gather the following:
- PLUSLED Outdoor Post Light (20W, 3000K, ETL certified)
- Shovel or post hole digger
- PVC conduit (for wire protection underground)
- UF-rated (underground feeder) electrical cable
- Quick-set concrete mix
- Wire stripper and wire connectors
- Voltage tester
- Screwdrivers (flathead and Phillips)
- Level
- Work gloves and safety glasses
Important: Always turn off power at the circuit breaker before working with any electrical wiring. If you’re running a new circuit from your breaker panel, hire a licensed electrician for that portion of the work — it’s required by code in most US states.
Step-by-Step Installation Guide
Step 1: Plan Your Location
Choose a location that provides functional illumination — typically at the end of a driveway, along a garden path, near a gate, or at the entrance to a patio. For driveways, post lights are typically placed 2–4 feet from the edge of the driveway. Mark your spot with a stake. Call 811 (the national “Call Before You Dig” hotline) at least 3 business days before digging to have underground utilities marked for free — this is legally required in all 50 states.
Step 2: Dig the Trench and Post Hole
Dig a trench from your power source to the post location, at least 12 inches deep for UF cable (18 inches is recommended for added protection). At the post location, dig a hole approximately 12–18 inches deep and about twice the diameter of your post base. This hole will be filled with concrete to anchor your post light securely.
Step 3: Run the Conduit and Cable
Feed PVC conduit through the trench for wire protection. At the transition point where the conduit rises from the ground, use elbow fittings to angle the conduit upward into the post location. Thread your UF cable through the conduit, leaving at least 8–10 inches of wire extending from the top of the conduit at the post hole. Backfill the trench and tamp down the soil.
Step 4: Set the Post in Concrete
Mix your quick-set concrete according to package directions and pour it into the post hole. While the concrete is still wet, slide the PLUSLED post light’s shaft over the conduit and position it 10–12 inches into the concrete. Use a level to ensure the post is perfectly vertical, then brace it in place until the concrete sets (usually 20–40 minutes for quick-set). Allow the concrete to cure fully — at least 4 hours before proceeding.
Step 5: Make the Electrical Connections
Once the post is set, carefully strip about 3 inches of outer insulation from the UF cable to expose the three inner wires: black (hot), white (neutral), and bare copper or green (ground). Strip ½ inch of insulation from the ends of each colored wire. Connect the wires from the cable to the corresponding wires from the PLUSLED fixture: black-to-black, white-to-white, ground-to-ground. Use wire connectors (wire nuts) and wrap each connection with electrical tape for extra weatherproofing. Fold the connections neatly into the post.
Step 6: Attach the Fixture and Test
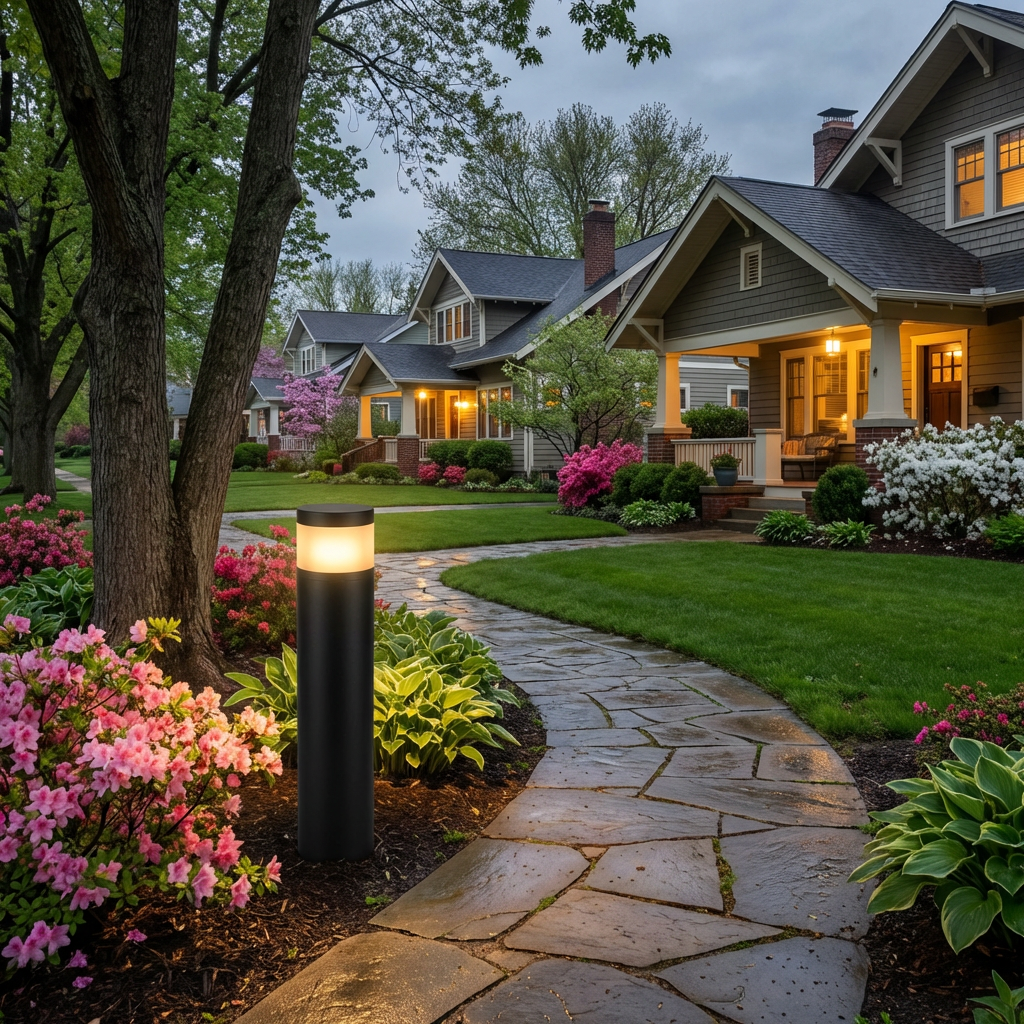
Secure the PLUSLED lantern head to the top of the post according to the fixture’s mounting instructions. Restore power at the breaker and use your voltage tester to confirm power is present before switching the light on. When you flip the switch, the PLUSLED Outdoor Post Light’s warm 3000K LED glow should illuminate beautifully — casting a welcoming, amber-toned light across your driveway, garden, or patio.
Tips for the Best Results
- Height: Standard post lights are mounted on 6–8 foot posts. The PLUSLED fixture’s compact 9.88″ lantern head is designed to balance style and illumination at this height.
- Spacing: For path lighting, space post lights 8–10 feet apart. For driveway entrances, a matching pair on either side creates a symmetrical, high-end look.
- Photocell or timer: Connect your post light to a photocell (dusk-to-dawn sensor) or outdoor timer to automate on/off — saving energy without any effort.
- Weatherproofing: The PLUSLED post light is fully waterproof and ETL certified for outdoor use, so you don’t need to worry about rain, humidity, or temperature swings throughout the seasons.
Why Choose the PLUSLED Outdoor Post Light?
Not all post lights are created equal. The PLUSLED Outdoor Post Light stands out for several reasons:
- 20W LED efficiency: Produces bright, consistent illumination while using a fraction of the energy of traditional incandescent post lamps.
- 3000K warm white: The perfect color temperature for residential outdoor use — warm enough to feel inviting, bright enough to enhance safety and security.
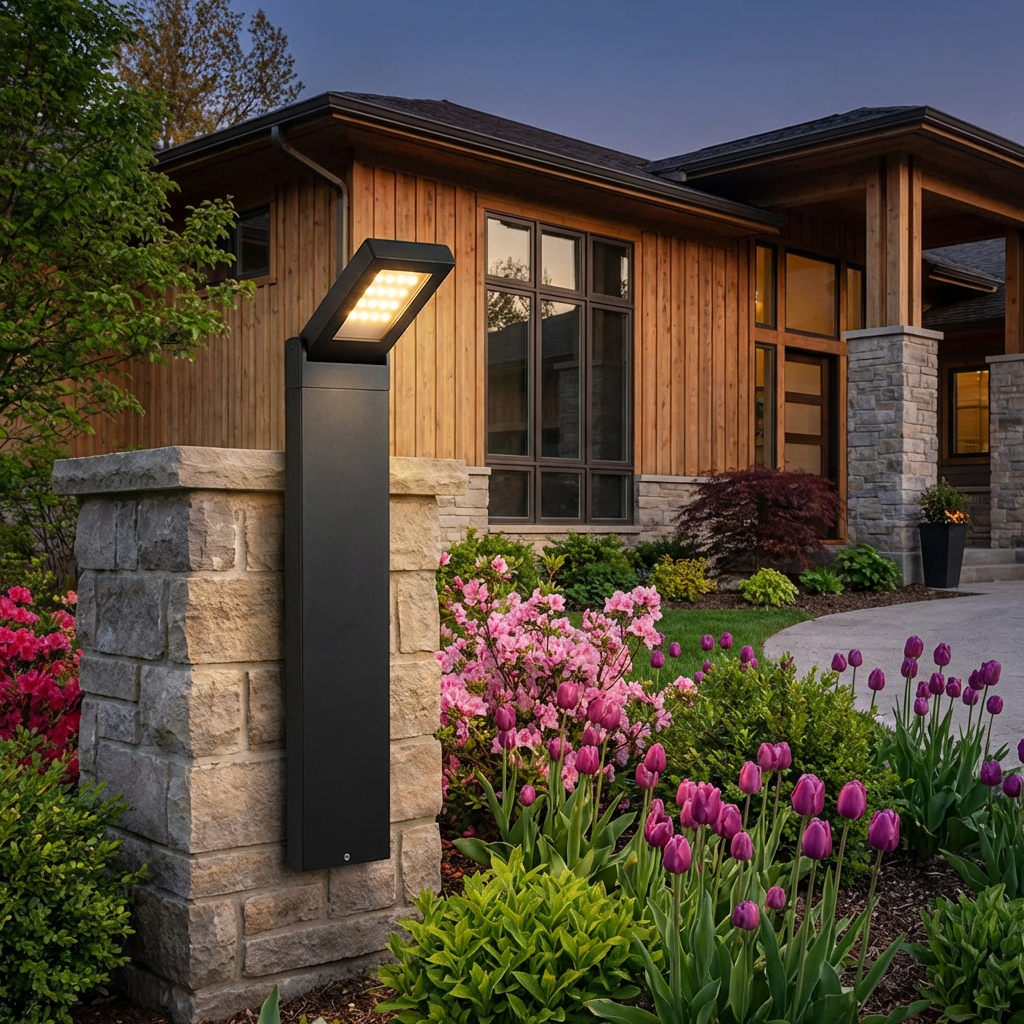
- Modern matte black design: The sleek black pillar lamp silhouette complements a wide range of architectural styles, from craftsman bungalows to contemporary homes.
- ETL certified: ETL certification means the PLUSLED Outdoor Post Light has been tested and certified to meet North American electrical safety standards — giving you peace of mind for a fixture that will be permanently wired to your home’s electrical system.
- Waterproof construction: Built to handle the full range of US outdoor conditions, from spring rain to summer heat to winter cold.
Ready to Transform Your Outdoor Space This Spring?
Installing an outdoor post light is one of the most rewarding DIY projects you can complete this spring — and with the right fixture, the results speak for themselves. A well-lit driveway or garden path instantly boosts your home’s curb appeal, safety, and nighttime ambiance. Whether you’re hosting Easter dinner, welcoming Mom on Mother’s Day, or simply enjoying warm spring evenings on your patio, great outdoor lighting makes every moment better.
Shop the PLUSLED Outdoor Post Light today and give your home the spring refresh it deserves. With modern style, ETL-certified safety, and energy-efficient 20W LED performance at just $79.99, it’s the upgrade your driveway or garden path has been waiting for.
Shop This Product
Like what you see? Click below to view full product details and order from our store.
View Product Details →